I was looking for a simple way to create and deploy an ExpressJS application without managing the maintenance (or cost) of an EC2 instance and found a great solution using Lambda. The below tutorial will show how to create a simple app with a single endpoint that connects to a Lambda function.
Overview
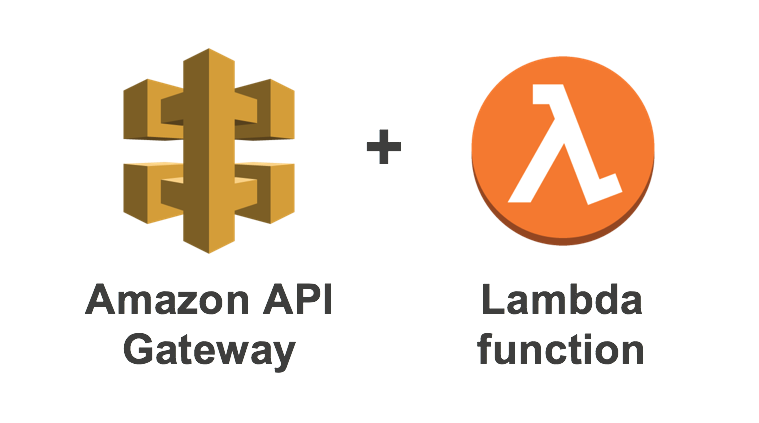
This simple tutorial will create an ExpressJS application using Cloudformation, Lambda and API Gateway. Here is the workflow:
- Cloudformation will create a new stack]
- S3 Deployment Bucket
- IAM Lambda Role Assignment
- Lambda Function
- API Gateway Rest
Step 0 - Getting Started
Install the Serverless framework for NodeJS.
npm install -g serverless
Step 1 - Create a new Node application
Create a new express directory.
mkdir ~/Desktop/my-express-app && cd ~/Desktop/my-express-app
Create a new package.json
npm init -f
Step 2 - Install Libraries
Install ExpressJS
npm install express --save
Install the Serverless HTTP application
This package is the glue between ExpressJS and Lambda.
npm install serverless-http --save
Install Serverless Deployment Bucket
Serverless Deployment Bucket enables you to create a custom S3 bucket name for your upcoming Cloudformation workflow. What's nice about this package is that if a bucket does not exist in S3, it auto-magically creates one for you.
npm install serverless-deployment-bucket --save
Step 3 - Create an index.js file
Our next step is to create a file and paste this ExpressJS related code. The code below accepts any GET request and returns a JSON object. This setup is ideal for creating a simple backend API service.
Regarding each GET response (res.json()), I'm borrowing the Stripe convention of responding to each request with a payload that includes status, data and message. I find that client-side developers appreciate consistency in their API responses.
'use strict';

const serverless = require('serverless-http');
const express = require('express');
const bodyParser = require('body-parser');

const app = express();
app.locals.pretty = true;
app.use(bodyParser.json());
app.use(bodyParser.urlencoded({ extended: false }));
app.set('json spaces', 2); // Format JSON Response

app.get('/:hash?', (req, res) => {
    let path = req.path;
    let { params, query, body } = req;

    res.status(200).send({
        status: res.statusCode,
        data: null,
        message: `${req.method} :hash - ${path}`,
        params: params,
        query: query
    })
})


/* ** ** ** ** ** ** **
* Error handling
* ** ** ** ** ** ** **/
app.use((err, req, res, next) => {
    console.error(err);
    res.status(404).json({
        status: res.statusCode,
        data: err.message,
        message: 'Not Found'
    });
});


// Development error handler will print stacktrace
if (app.get('env') === 'development') {
    app.use((err, req, res, next) => {
        res.status(err.status || 500);
        res.json({
            stage: "development",
            status: res.status,
            data: null,
            message: err.message
        });
    });
}


// Production error handler no stacktraces leaked to user
// You must provide four arguments to identify it as an error-handling middleware function.
app.use((err, req, res, next) => {
    console.error(err);
    res.status(500).json({
        status: res.statusCode,
        data: err.message,
        message: 'Internal Error'
    });
});

module.exports.handler = serverless(app);
Step 4 - Create a serverless.yaml configuration file
This ExpressJS application will have one function (express) which points to the handler function within ./index.js.
The app method currently accepts all HTTP verbs (GET, POST, PUT, DELETE) which you can later lockdown.
# serverless.yml
service: my-service

custom:
    appName: my-express-api
    prefix: app-${self:custom.appName}-
    logLevel: ${self:custom.prefix}${self:provider.stage}.LogLevel
    stagePrefix:
        dev: ${self:provider.stage}
        staging: ${self:provider.stage}
        prod: ''
    service:   # These are the names of the services
        cloudFormation: ${self:custom.prefix}${self:custom.stagePrefix.${self:provider.stage}, ''}
        apiGateway: ${self:custom.prefix}${self:custom.stagePrefix.${self:provider.stage}, ''}
    cfBucketName: cf-stack-${self:custom.appName}-${self:provider.region}-${self:custom.stagePrefix.${self:provider.stage}, ''}

provider:
    name: aws                                # (required) Serverless provider.
    runtime: nodejs12.x                      # (required) Node version.
    memorySize: 128                          # (optional) Lambda memory. Default is 1024
    timeout: 10                              # (optional) Lambda timeout. Default is 30
    stage: ${opt:stage, 'dev'}               # (optional) Either take --stage param from the command line, or use default.
    region: ${opt:region, 'us-east-1'}       # (optional) Either take --region param from the command line, or use default.
    stackName: ${self:custom.service.cloudFormation} # (optional) Name Cloudformation stack
    apiName: ${self:custom.service.apiGateway}       # (optional) Name API Gateway
    env:                                      # (optional) env vars
        DEBUG: 'express:*'                    # (optional) Express specific env var will print express debug logs
        logLevel: ${self:custom.logLevel}     # (optional) Custom name for Cloudwatch logs
    logRetentionInDays: 1                     # (optional) Keep your Cloudwatch Logs for x days
    deploymentBucket:                         # (optional) Custom S3 bucketname to store
        name: ${self:custom.cfBucketName}     # (optional) Custom bucket name created by Cloudformation
        serverSideEncryption: AES256          # (optional) Encrypt the data
    profile: ${opt:profile, "default"}        # (optional) Add an AWS profile through --profile option

plugins:
    - serverless-deployment-bucket            # https://www.npmjs.com/package/serverless-deployment-bucket

functions:
    express:                                  # Name of function
        handler: index.handler                # Path to function
        events:
            - http: ANY /
            - http: 'ANY {proxy+}'            # All requests on this domain are routed to this function
Step 5 - Deploy App
Deploying your app is pretty straightforward. If you do not have an --aws-profile created yet, read this tutorial
serverless deploy --aws-profile default
Resources

Deploying Rails 5.x on AWS ElasticBeanstalk using AWS CodeCommit
How to deploy your Rails app on ElasticBeanstalk (including S3 buckets, security groups, load balancers, auto-scalling groups and more) using CodeCommit.