
This entry is very similar to my previous article on how to create a subdomain forward using S3. All I want to do is create an Amazon Workmail account, get the generic URL Amazon offers, and add a custom domain.
For example, I want to type this into my address bar
http://mail.myexampleapp.com => https://myexampleapp.awsapps.com/mail
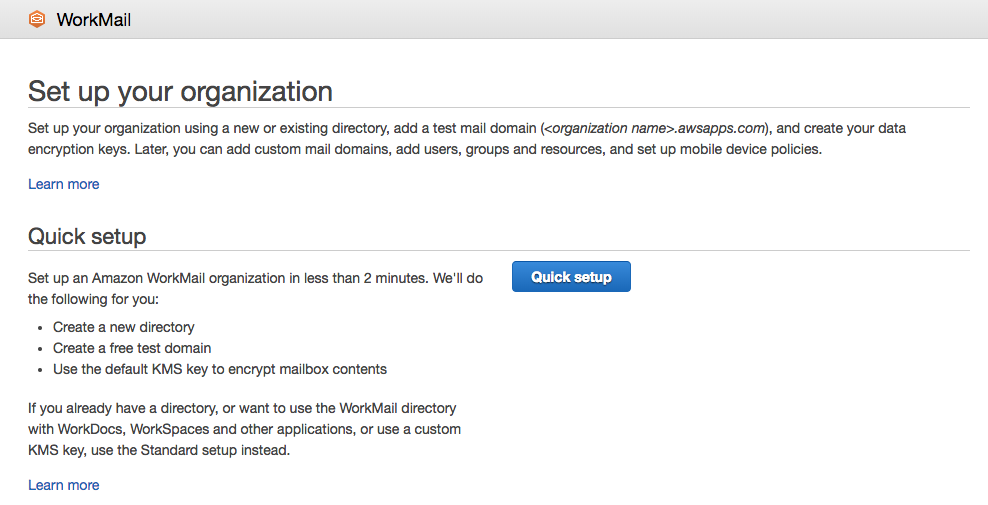
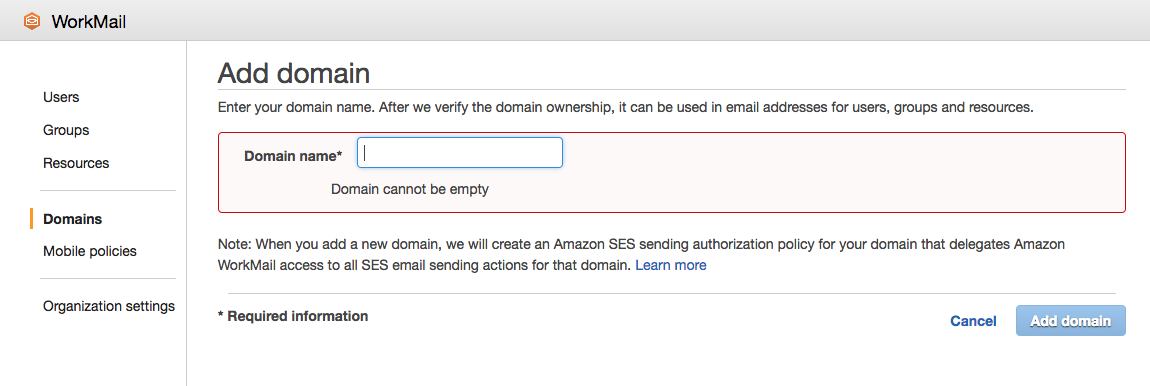
Step 1 - Activate WorkMail
Visit Amazon Workmail to create an account.
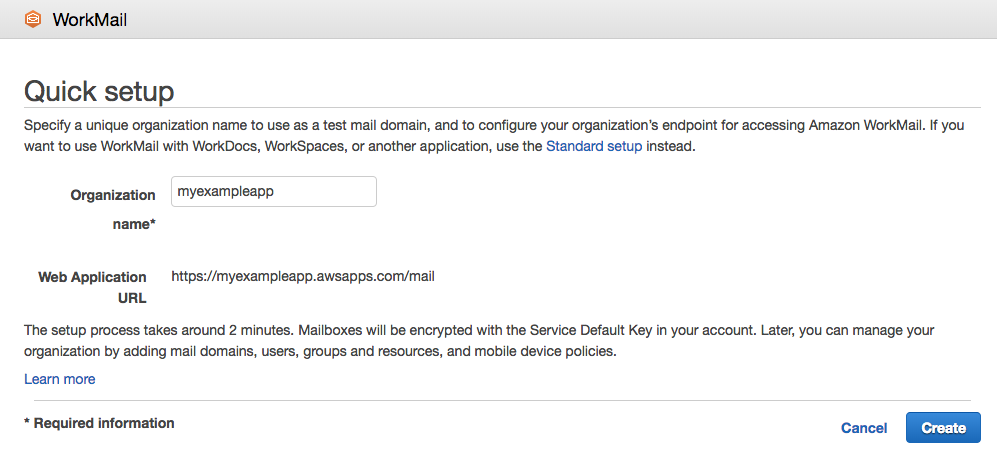
Step 2 - Configure WorkMail
To start sending emails from a specific domain, you'll first need to configure WorkMail.
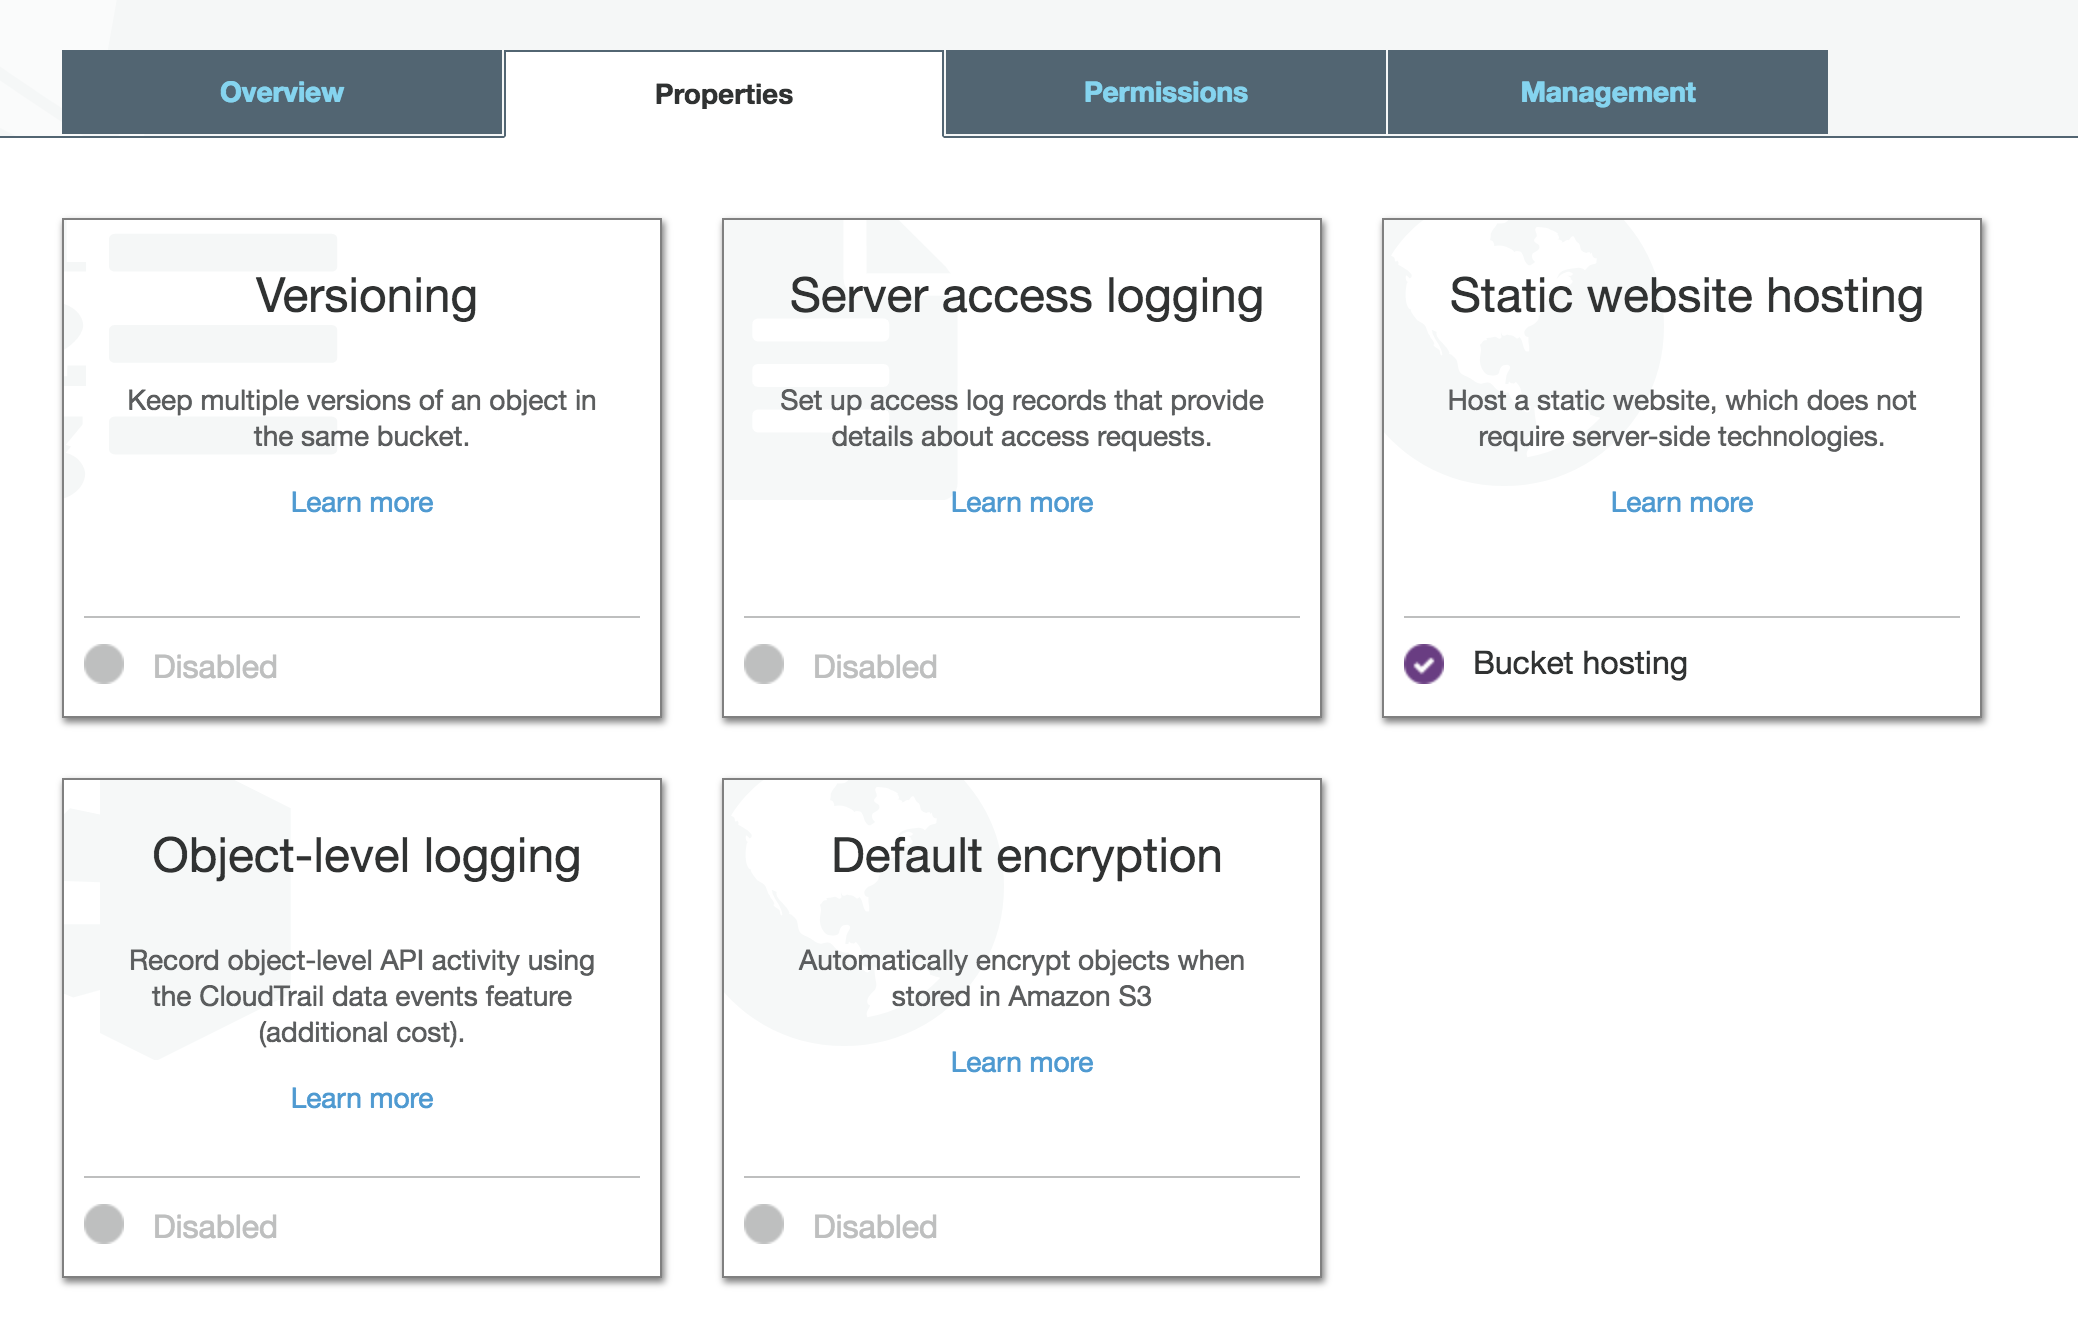
Step 2 - Create a bucket
The purpose of a bucket is to host an inexpensive web server that will serve as your redirect. If you use GoDaddy for domain ownership, they offer a feature called domain forwarding, but since we're using Route53, we have to create an S3 bucket.
Step 3 - Modify bucket properties
From within the S3 bucket properties, you will want to turn on Static Website Hosting.
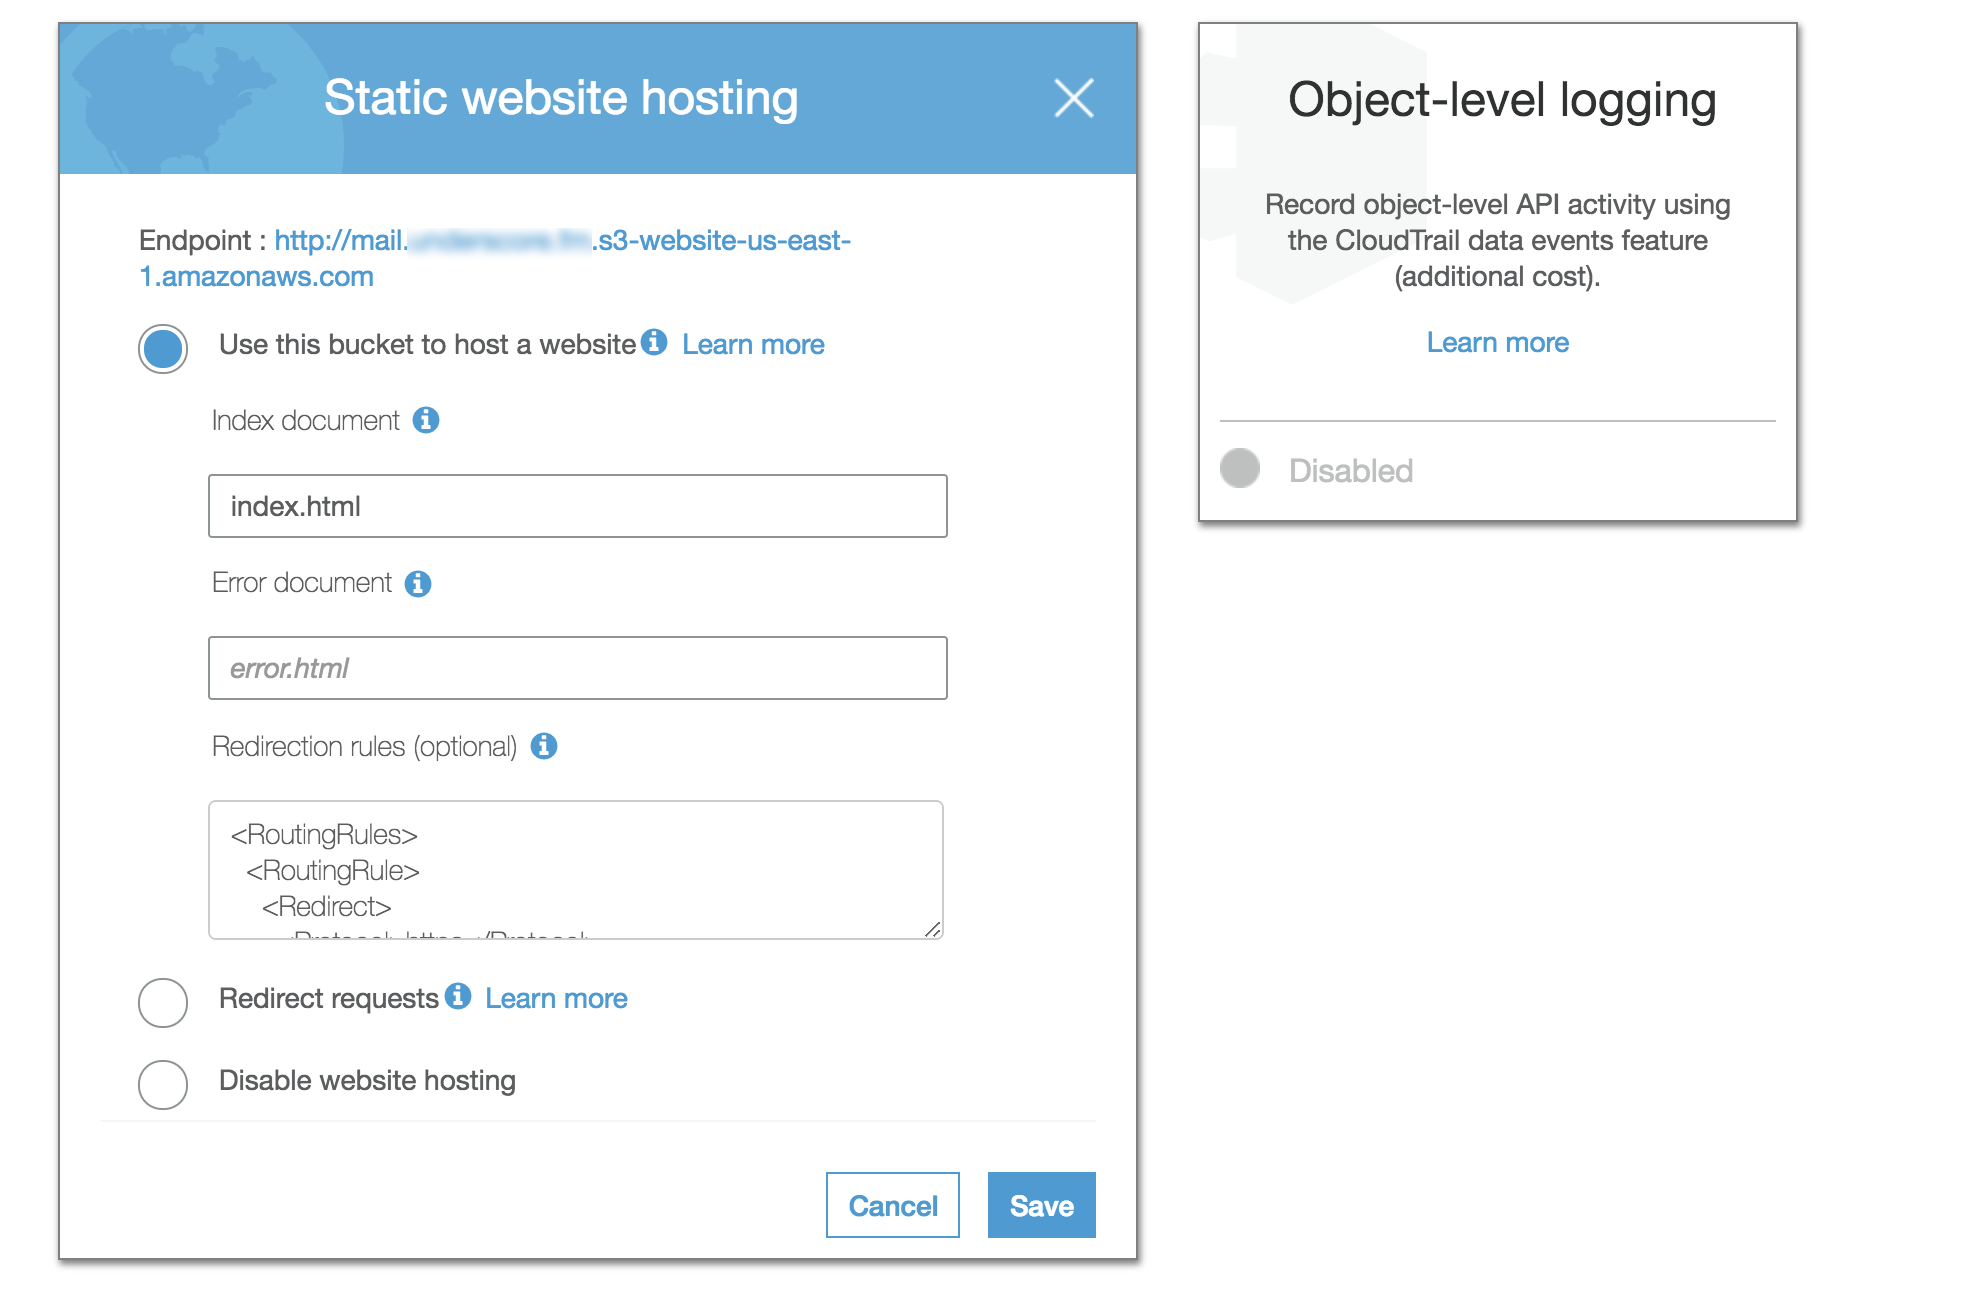
Step 4 - Paste this XML
Take note that the XML file contains the path to the email account you created in step 1.
<RoutingRules>
  <RoutingRule>
    <Redirect>
      <Protocol>https</Protocol>
      <HostName>myapp.awsapps.com</HostName>
      <ReplaceKeyPrefixWith>mail/</ReplaceKeyPrefixWith>
      <HttpRedirectCode>301</HttpRedirectCode>
    </Redirect>
  </RoutingRule>
</RoutingRules>
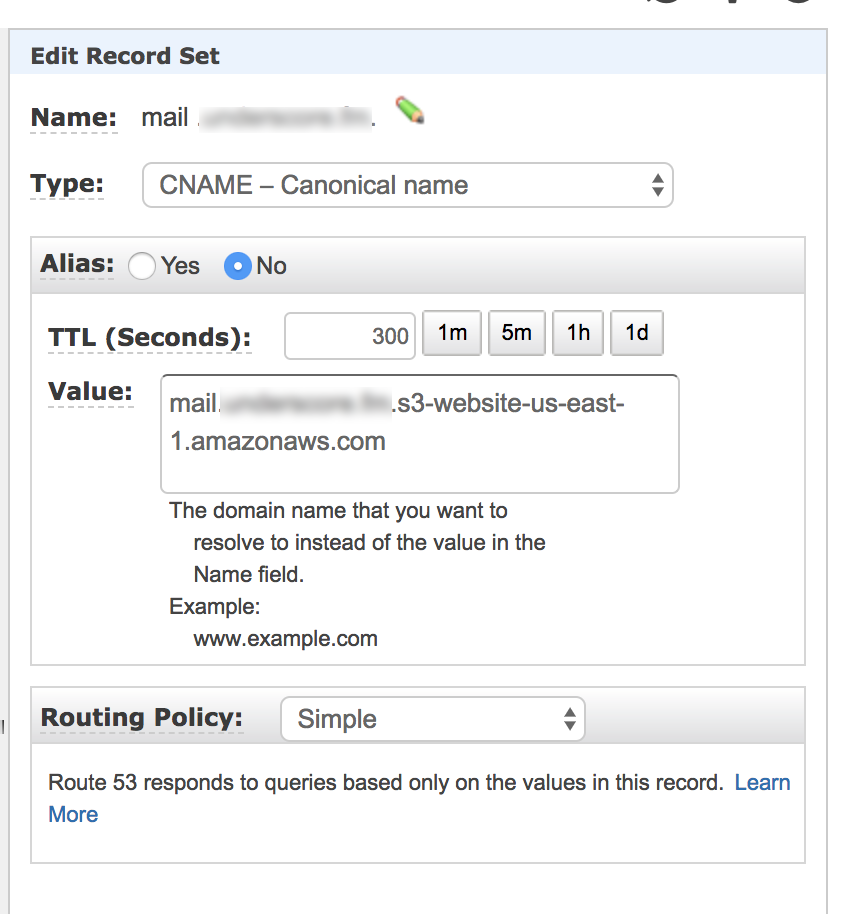
Step 5 - Connect domain to S3 bucket through CNAME
Using Amazon Route53, you can create a CNAME record that will point to your S3 bucket (using an Alias).
Take note, do not use the "Alias" feature when adding a CNAME and make sure to use the http:// endpoint from Step 3 as the value.


Deploying Rails 5.x on AWS ElasticBeanstalk using AWS CodeCommit
How to deploy your Rails app on ElasticBeanstalk (including S3 buckets, security groups, load balancers, auto-scalling groups and more) using CodeCommit.