
When you first create an AWS account, Amazon gives you a funky looking sign-in URL like this.
https://10203373.signin.aws.amazon.com/console
Thankfully, AWS allows you to customize the URL in a human readable way.
https://acme.signin.aws.amazon.com/console
Sadly, I still can't remember a URL like this, so I decided to create a subdomain redirect. Some people also prefer to call this a "subdomain forward."
By the end of this article, I will share how to create an even prettier looking redirect using a custom subdomain looks like this.
http://aws.acme.com
This blog entry uses these three AWS services.

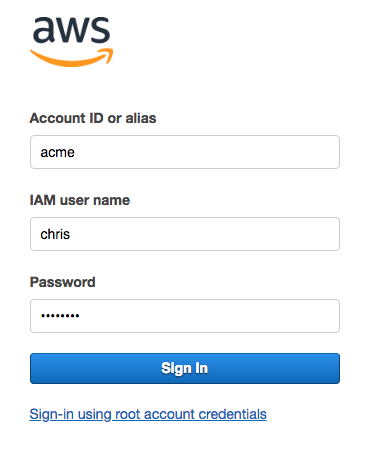
Step 1 - Get Your Sign-In Link
Go to your AWS IAM Dashboard and look for the "IAM users sign-in link." I am going to change mine to be acme.
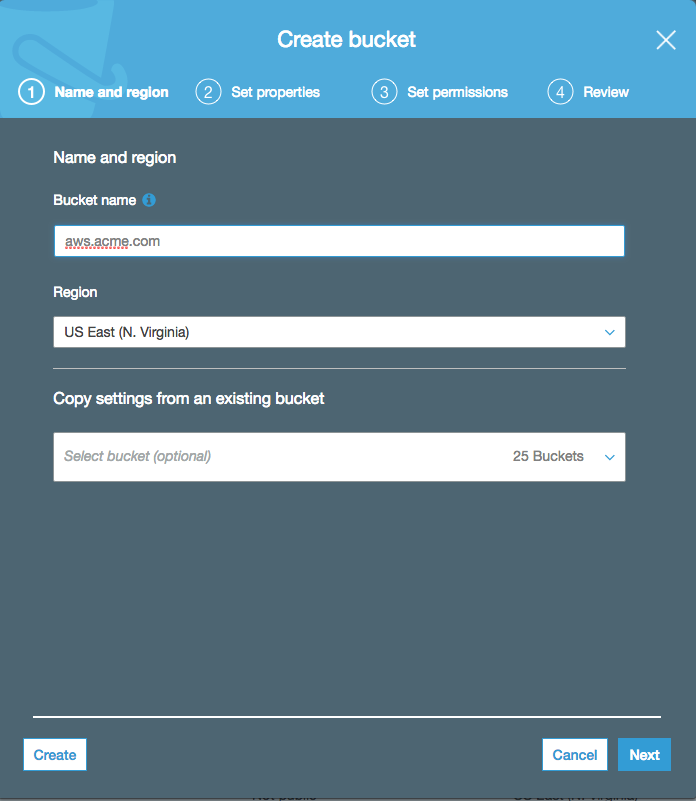
Step 2 - Create an S3 Bucket
Go to AWS S3 and create a new bucket. You MUST name it the short URL you intend to use it for. So, for example, my bucket will be named aws.acme.com.
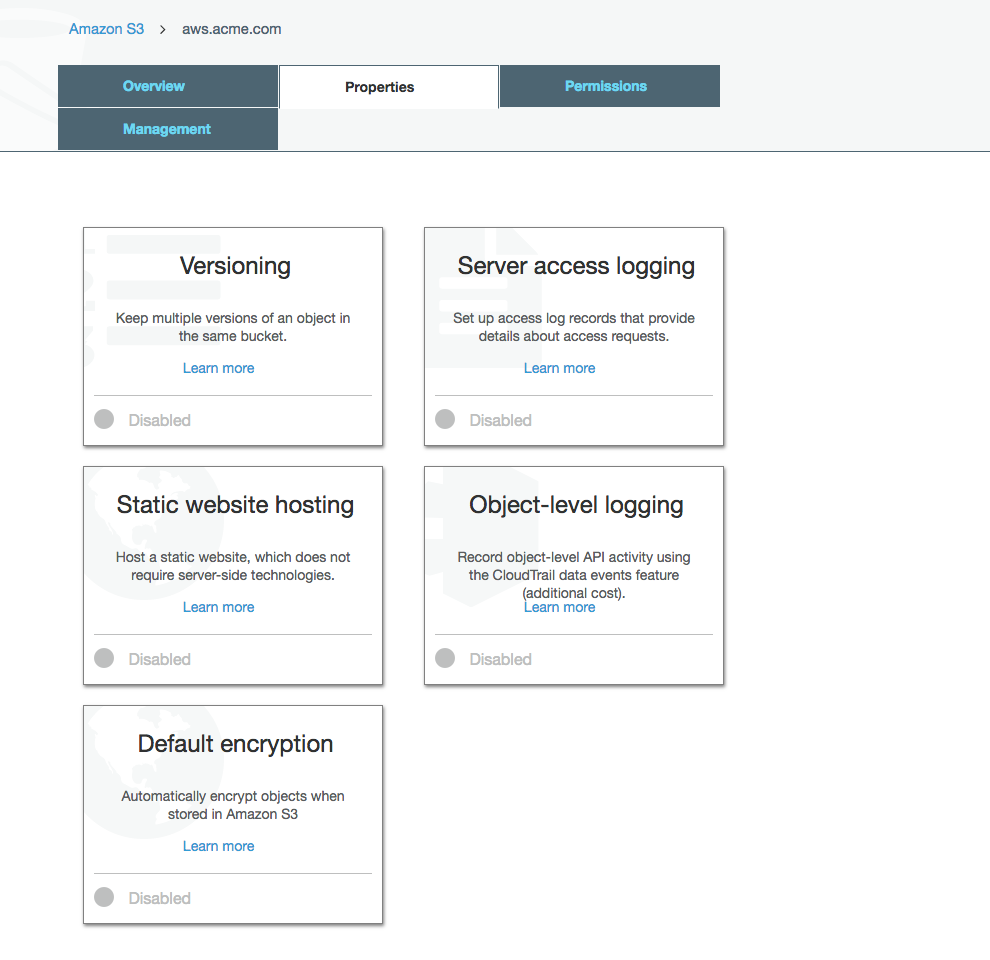
Step 3 - Turn Your S3 Bucket into a Host
S3 buckets are unique in that you can turn them into static hosts. It's like having a micro web server with its URL. You do this by first going to properties and clicking "Static Web Hosting."
Type in index.html into the field Index document.
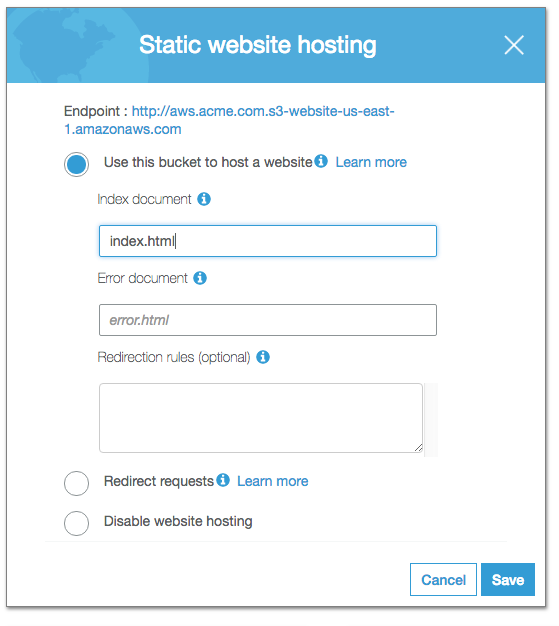
Next, paste this XML inside the text area titled Redirection rules.
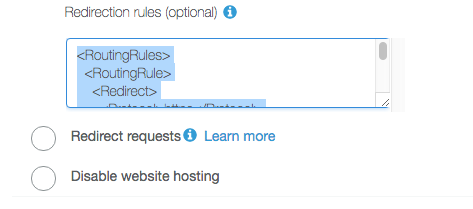
<RoutingRules>
  <RoutingRule>
    <Redirect>
      <Protocol>https</Protocol>
      <HostName>replace-replace-this-with-your-name.signin.aws.amazon.com</HostName>
      <ReplaceKeyPrefixWith>console/</ReplaceKeyPrefixWith>
      <HttpRedirectCode>301</HttpRedirectCode>
    </Redirect>
  </RoutingRule>
</RoutingRules>
NEW & UPDATED
[
    {
        "Redirect": {
            "HostName": "replace-replace-this-with-your-name.signin.aws.amazon.com",
            "HttpRedirectCode": "301",
            "Protocol": "https",
            "ReplaceKeyPrefixWith": "console/"
        }
    }
]
This is the configuration file that will create a permanent redirect. A few things to note:
- AWS sign-in requires
https. - Your hostname is the new sign-in link name you created.
- Providing a 301 code means the redirect will be permanent.
Step 4 - Update your DNS with Route 53
I use AWS Route 53 to manage my DNS. If you use something like Cloudflare, skip to "Updating your DNS with Cloudflare."
A - Create a Record Set
First, create a recordset.

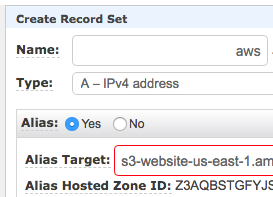
B - Create an A Record with an Alias
Route 53 is unique, and without getting into too many details, you'll want to create A record then check "Alias" = "Yes."
Within "Alias Target," you should see the S3 bucket you created.
Step 5 - You're done.
Update your DNS with Cloudflare
If you don't use Route 53, you'll want to create a CNAME record instead of an A record. It's still pretty simple.

Resources


Deploying Rails 5.x on AWS ElasticBeanstalk using AWS CodeCommit
How to deploy your Rails app on ElasticBeanstalk (including S3 buckets, security groups, load balancers, auto-scalling groups and more) using CodeCommit.