Amazon offers a newer, simpler alternative to EC2 instances called Lightsail. Lightsail is very easy to use and excellent for any small business interested in creating a simple app.
I was recently asked to create a Wordpress website using Lightsail and it took less than 10 minutes. In fact, the hardest part was figuring out how to SFTP into server so that I can get the /login password. Here's how I did it.
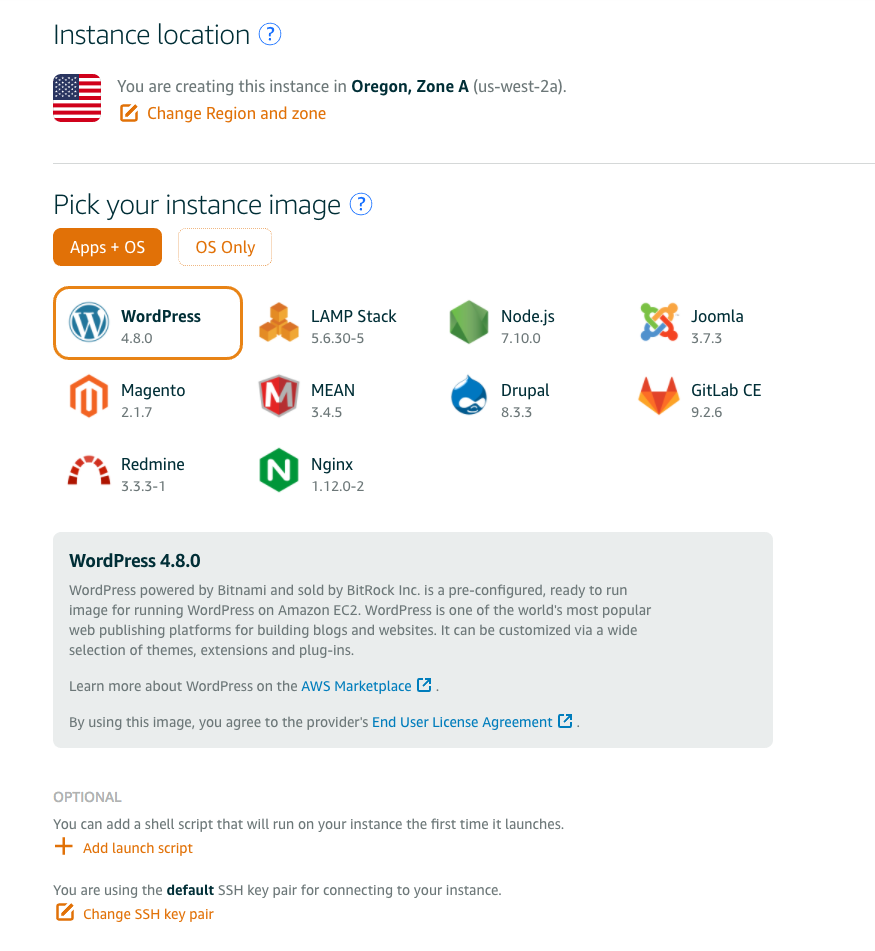
Step 1 - Create a Lightsail Instance
Visit AWS Lightsail and create a new app instance.
Step 2 - Open Transmit
There are many good file transfer apps for Mac but Panic Transmit is my favorite. Simply create a new instance, enter the IP address given to you by AWS, set the protocol to SFTP, enter "bitnami" into the User Name and select the key symbol.
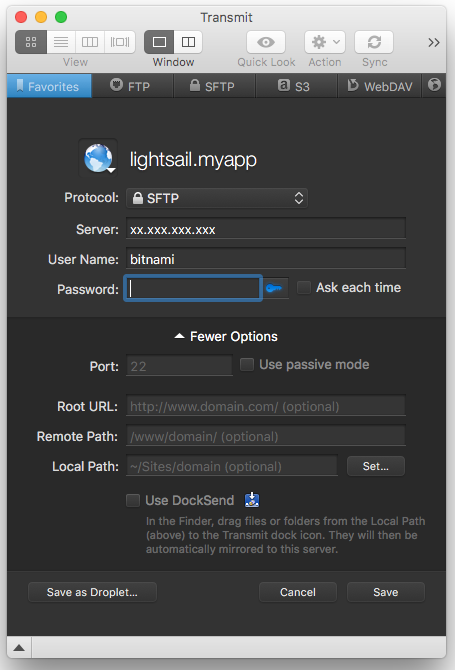
Step 3 - Pick your PEM
When you click on the key symbol near "Password", you will open a prompt that asks for your PEM file.

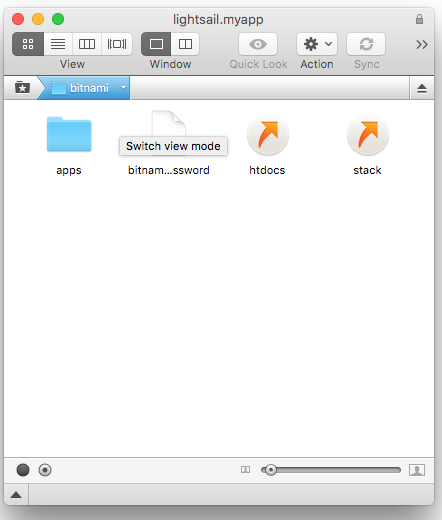
Step 4 - Complete!
When you first log in, you will be sent to the default Bitnami file structure. You can find your Bitnami password. Simply open bitnami_application_password using a text editor.
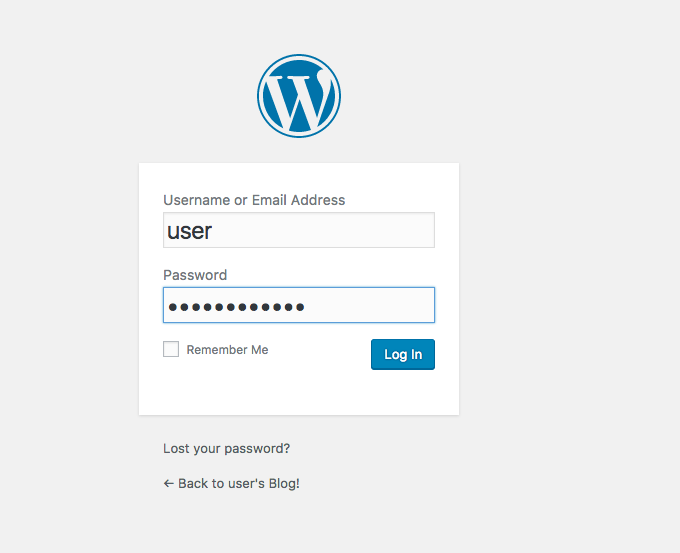
Step 5 - Log In
Log in using user as your Username.
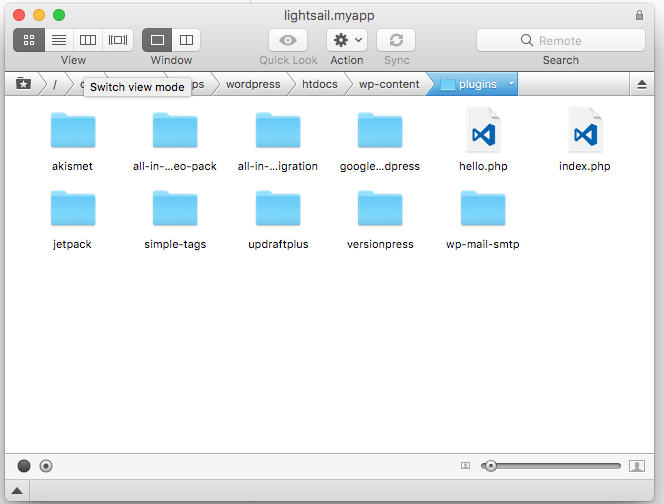
Finding /plugins folder
If you're using Wordpress on Lightsail, some folders, like plugins, are placed in different locations.
/opt/bitnami/apps/wordpress/htdocs/wp-content/plugins/
Resources
WordPress API development with Postman or PAW
The Wordpress API [https://wordpress.org/plugins/acf-to-rest-api/] works well. Once you figure out how to send a REST request, you'll be jamming...

Bitnami WordPress Cheatsheet for AWS Lightsail
I'm currently working on two WordPress websites that have been pre-configured by Bitnami within a Virtual Private Cloud. Below are a few select commands I...