The following article provides an initial tutorial on building an NFT marketplace on Ethereum blockchain using React and Next.Js. We will be leveraging React, NextJS, Web3, and OpenZeppelin to create our application. The following article will focus on app development, but here are the libraries for now.
Modular Design
The key modules that represent an NFT marketplace include:
- User Account and Registration
- Dashboard
- Minting Page
- Actual Marketplace
Steps
Step 1: Create a React application.
We will create an NFT marketplace for pogs.
npx create-next-app nft-marketplace-pogs
Step 2: Install libraries
Interact with Ethereum blockchain using ethers. Ethers is an excellent library for interacting with the Etherium blockchain.
npm i ethers --save
Step 3: Create a development environment
hardhat is the technology that will enable us to compile and deploy smart contracts. Another popular library is truffle but we will use that for a future blog article.
Hardhat is our development environment. It's going to allow us to compile and deploy contracts. This is the alternative to truffle
npm i hardhat --save
npm i ethereum-waffle @nomiclabs/hardhat-waffle @nomiclabs/hardhat-ethers --save
Step 4: Install web3
We use web3modal to bridge the front-end with the back-end. For example, we use this library to connect with our Metamask and run transactions.
npm i web3modal --save
Step 5: Testing
Introduce assertion testing via chai
npm i chai --save-dev
Step 6: Manage Smart Contracts
OpenZepplin contains ERC721 contracts, built to a standard, saving us time by not building our tokens from scratch.
npm i @openzeppelin/contracts --save
Step 7: Host content on a decentralized host
We want to make sure the content remains on the web forever. To accomplish this, we store it in a decentralized host using IPFS.
npm i ipfs-http-client --save
Async JS Requests via axios
We will use Axios, but you can certainly write Promises in ES6.
npm i axios --save
UIX CSS design using Tailwind
Goodbye Bootstrap, hello Tailwind.
npm i add -D tailwindcss@latest postcss@latest autoprefixer@latest --save-dev
Start Building
Now let's initialize tailwind and create a configuration file.
npx tailwindcss init -p
Now let's focus on getting Hardhat to initialize our contracts and start building out some smart contracts for us.
This command will initialize a virtual developer environment of smart contracts to get us started.
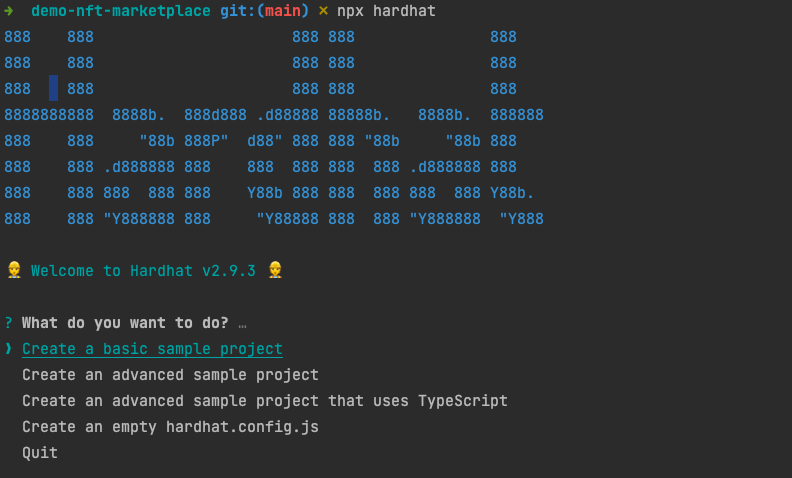
npx hardhat
Select: "Create a basic sample project"
Run Boilerplate Code
If you want to see your boilerplate code in action,
npm run dev