I have over 2GB of data that I want to transfer from one S3 bucket to another. Usually, I would use Transmit for Mac because it offers a straightforward FTP-type tool for S3, but 2GB is too much to download and re-upload to my computer.
Thankfully, AWS offers the AWS command line client (AWSCli) which includes sync. sync replaces s3cmd allowing me to transfer things over. Here's how.
Step 1 - Create two buckets
Visit the S3 Management Console and make sure you have two buckets.
You will need a source bucket.
s3://source-bucket
You will need a destination bucket.
s3://dest-bucket
Step 2 - Create an IAM user
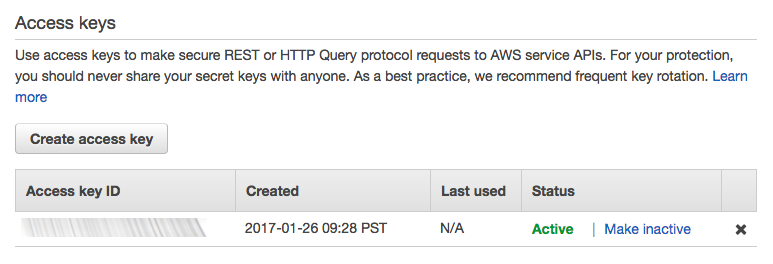
Visit the User's sections of IAM Console to create a user including an Access key ID and a Secret Access Key.
Step 3 - Create user permissions
Identity Access Management also provides policies which grant your user with access to S3 featuers and functionality.
Visit the Policy section of IAM Console create permissions allowing your new user to access and sync both buckets.
Screen 1
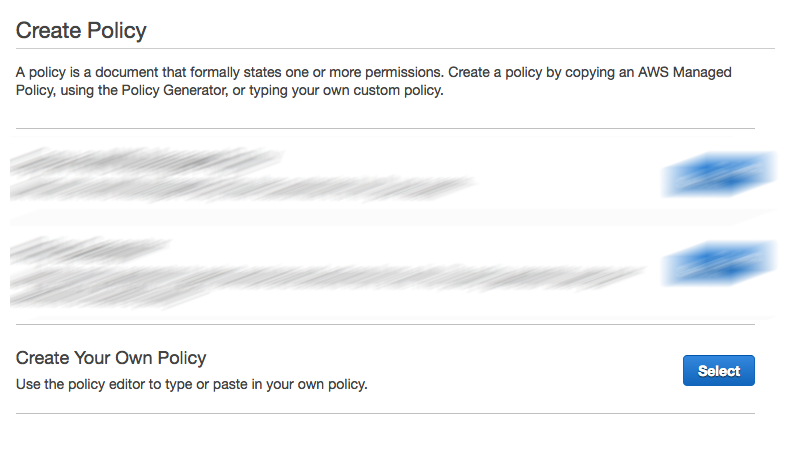
Create a new policy.

Screen 2
We are going to create our own policy.
Screen 3
Please add a name and description to your policy.
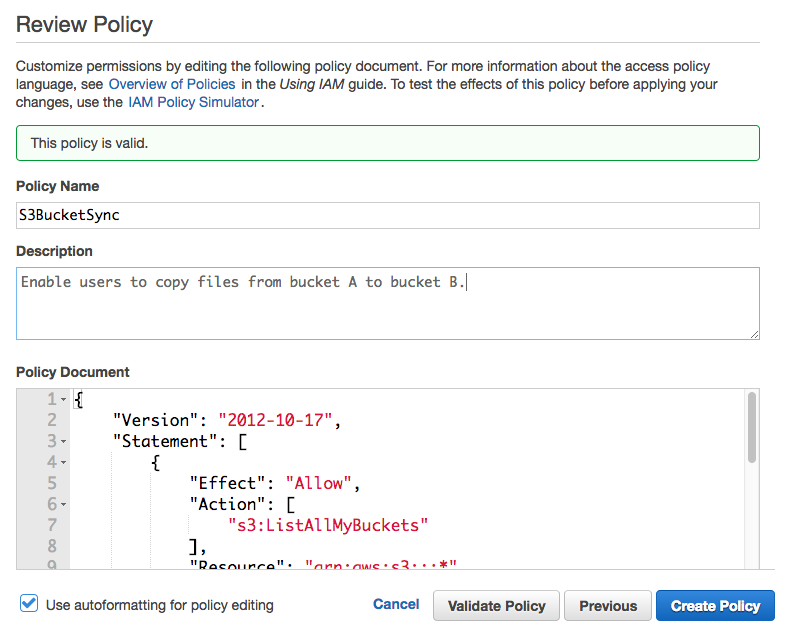
Copy and paste the policy below
{
    "Version": "2012-10-17",
    "Statement": [
        {
            "Effect":"Allow",
            "Action":[
                "s3:ListAllMyBuckets"
            ],
            "Resource":"arn:aws:s3:::*"
        },
        {
            "Effect":"Allow",
            "Action":[
                "s3:GetObject",
                "s3:PutObject"
            ],
            "Resource":[
                "arn:aws:s3:::source-bucket/*",
                "arn:aws:s3:::dest-bucket/*"
            ]
        },
        {
            "Effect": "Allow",
            "Action": [
                "s3:ListBucket",
                "s3:GetBucketLocation"
            ],
            "Resource": [
                "arn:aws:s3:::source-bucket",
                "arn:aws:s3:::dest-bucket"
            ]
        }
    ]
}
Here is a breakdown of its characteristics:
s3:GetBucketLocation provides the user with the bucket URL which you'll need before you can do anything.
s3:ListAllMyBuckets enables a user to view all the available S3 buckets.
s3:GetObject allows a user to read from S3.
s3:PutObject enables a user to write to S3.
s3:ListBucket enables a user to list all of the objects within the new bucket.
Screen 4
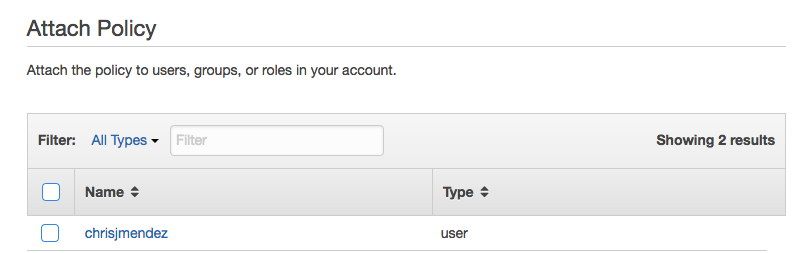
Once you've created a user policy, you will need to attach it to a user.

Step 4 - Grant Access to our S3 Bucket
In step 4, we tell our s3://source-bucket to grant access to our user by attaching another JSON policy.
Go to the Amazon S3 > s3://source-bucket > Permissions and select "Bucket Policy".
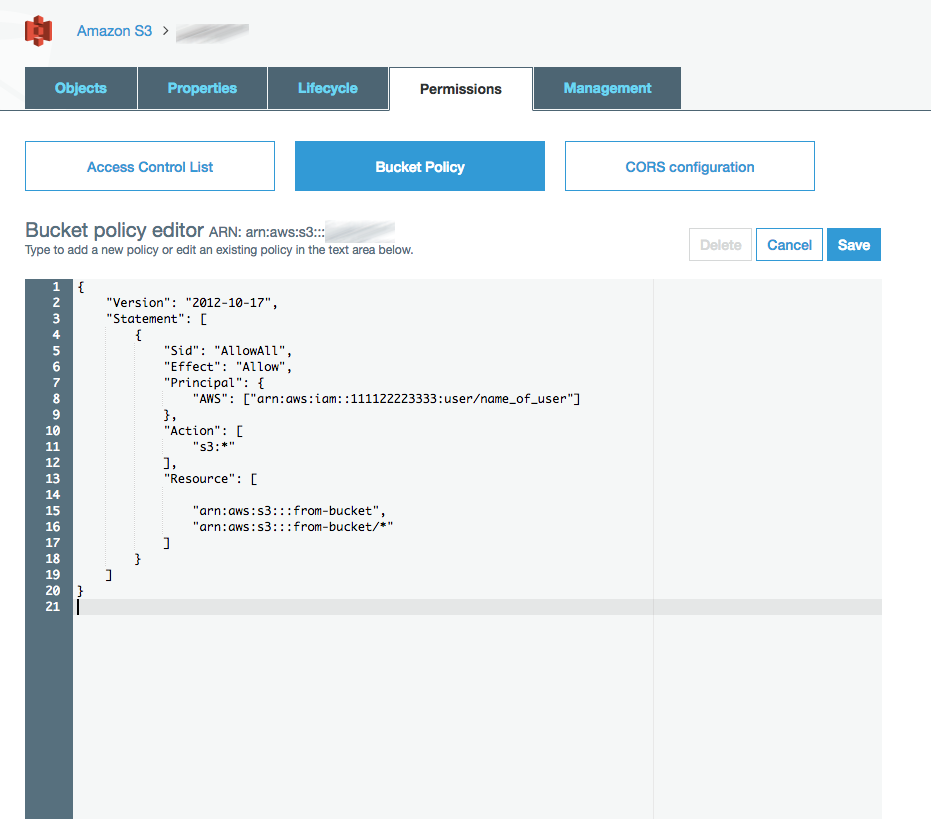
Copy and paste this policy file:
{
    "Version": "2012-10-17",
    "Statement": [
        {
            "Sid": "AllowAll",
            "Effect": "Allow",
            "Principal": {
                "AWS": ["arn:aws:iam::111122223333:user/name_of_user"]
            },
            "Action": [
                "s3:*"
            ],
            "Resource": [
                "arn:aws:s3:::source-bucket",
                "arn:aws:s3:::source-bucket/*"
            ]
        }
    ]
}
Principle is where you place the ARN User info.
Action enables users to do anything with this bucket.
Resource is where you grant specific access to a user.
If you're not sure where to find the ARN User, visit the User's section of the IAM console, click on your users and copy ARN User.
Step 5 - Install AWSCli Tools
The next series of steps will require you to use the AWS command line toolkit. In my example, I will run the copy commands from my local computer. This way I don't have to go through the trouble of creating an EC2 instance, etc.
If you do not have AWSCli installed on your computer, read this first.
Install AWS Command Line Client using Homebrew
Step 6 - Run AWSCli commands
List your available buckets
aws s3 ls
Show total count of objects within a specific bucket
aws s3 ls s3://source-bucket | wc -l
Step 6 - Sync Files
Example 1
Simple sync command.
aws s3 sync s3://oldbucket s3://newbucket
Example 2
Run a process that can continue running in the background after you log out from a shell by adding nohup and &.
nohup aws s3 sync s3://oldbucket s3://newbucket &
Example 3
Cross region copy
aws s3 sync s3://oldbucket-in-eu-west1 s3://newbucket-in-eu-central1 --source-region=eu-west-1 --region=eu-central-1
Your done!
Other S3 Commands
Identify your identity by asking for your arn number.
aws sts get-caller-identity
List files within a bucket.
aws s3 ls s3://source-bucket
Recursively copy files.
aws s3 cp s3://source-bucket/ s3://dest-bucket/ --recursive
Copy files but exclude text files and include pdf files.
aws s3 cp s3://source-bucket/ s3://dest-bucket/ --recursive --exclude "*.txt" --include "*.pdf"
Delete .DS_Store files from a bucket
aws s3 rm --recursive --exclude "*" --include "*.DS_Store" s3://dest-bucket
Only copy jpg and txt files.
aws s3 cp --recursive --exclude "*" --include "*.jpg" --include "*.txt" s3://source-bucket/ s3://dest-bucket/
Move files within a folder from one bucket to another.
aws s3 mv --recursive s3://source-bucket/ s3://dest-bucket/
Sync files that are currently stored within AWS Glacier.
aws s3 sync s3://source-bucket/ s3://dest-bucket/ --recursive --ignore-glacier-warnings --force-glacier-transfer