Nick Thompson, creator of Elementary Audio has done the incredible. He has developed an audio framework for Javascript developers to create VST, AudioUnit, AUv3, and Standalone audio plug-ins.
If you are a web developer who has ever wanted to create an audio plug-in for Logic, Reason, Ableton, Cubase, etc, this is the easiest path to success.
Even better, Nick's roadmap includes a path to open-source his technology. Therefore, to help spread the good word, he's provided me with some boilerplate code that we can use to start preparing for the big day.
As an audio engineer and software developer, I've always wanted to create an audio plug-in, but the barrier to entry is high. Aside from learning C++, and JUCE audio framework, it requires many hours to make an audio effect itself.
It's a lot of work.
This tutorial aims to reduce the time it takes to just compile your code and package it into .component and .vst3 files.
Consider this tutorial the first of two. This one is the basic version. The next article is a follow-up with more detailed information on how things work under the hood.
Step 0 - Join the Elementary Audio Discord Community
It's the best place to learn more about Elementary Audio. Every time I get stuck, I chose Discover over Stack Overflow.
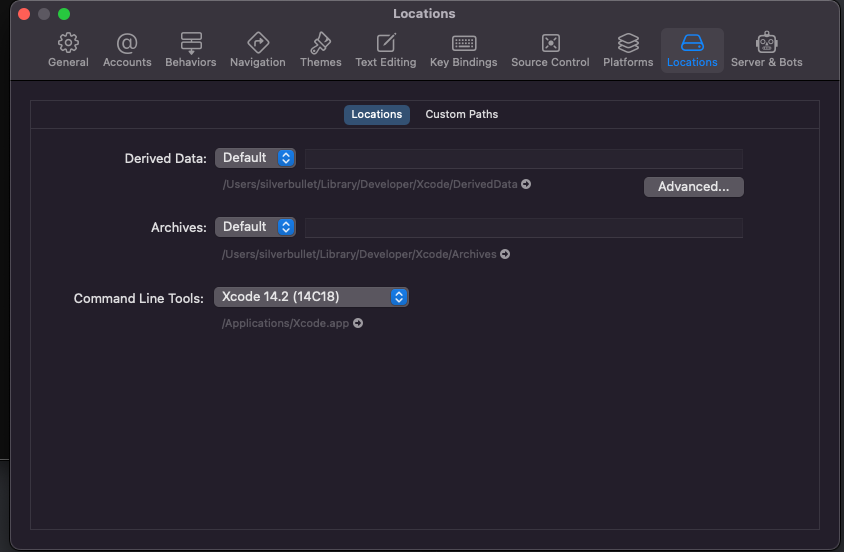
Step 1 - Install XCode
XCode is required to create Audio Unit .component. Although we will not be using the IDE to complete these article, it needs to be installed.
Download Xcode from App Store.
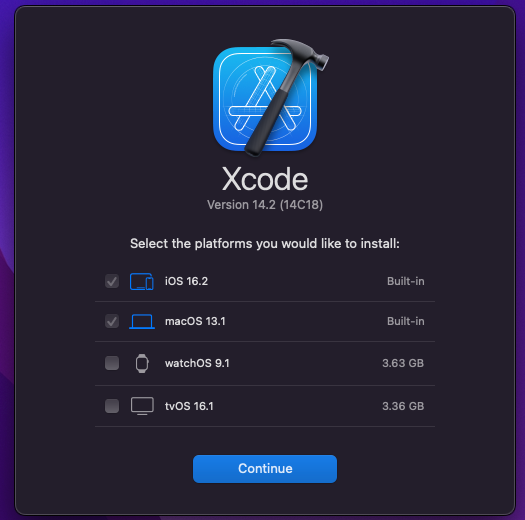
Don't forget to install the command line tools.
Step 2 - Install Homebrew Package Manager for macOS
Homebrew is the best tool for managing packages and libraries for macOS.
/bin/bash -c "$(curl -fsSL https://raw.githubusercontent.com/Homebrew/install/HEAD/install.sh)"
Step 3 - Install Make
Make is a build tool that builds executable programs and libraries from source code by reading files called Makefiles. We use Homebrew to download and install Make.
brew install --cask cmake
Step 4 - Install Node Version Manager (NVM)
You can install multiple versions of Node on macOS using Node Version Manager. To learn more, read this.
brew install nvm
Step 5 - Install Node
Node is how Javascript developers can build. This is where we want developers to spend all of their time creating.
nvm install 14.20.0
Step 6 - Download Git Boilerplate Repo
As I mentioned above, the next article will be for advanced users who want to understand better the inner workings of creating an audio plug-in. For now, the main goal is to enable Javascript developers to compile a basic plug-in so they can then focus their efforts on building their app using Elementary Audio
Clone the entire repository.
git clone https://github.com/chrisjmendez/elementary-audio-boilerplate.git
Change directory into the repo.
cd elementary-audio-boilerplate
The first project has been archived as a tag. Switch to the code that's tagged tags/v1.0-basic-sine-wave and create a new branch for you to test things out yourself.
git checkout tags/v1.0-basic-sine-wave -b my_first_app
Step 7 - Download Javascript Dependencies via Node Package Manager (NPM)
With the Git repo now downloaded, change directory to the /js.
cd ./js
Use Node Package Manager to install Elementary Audio
npm i
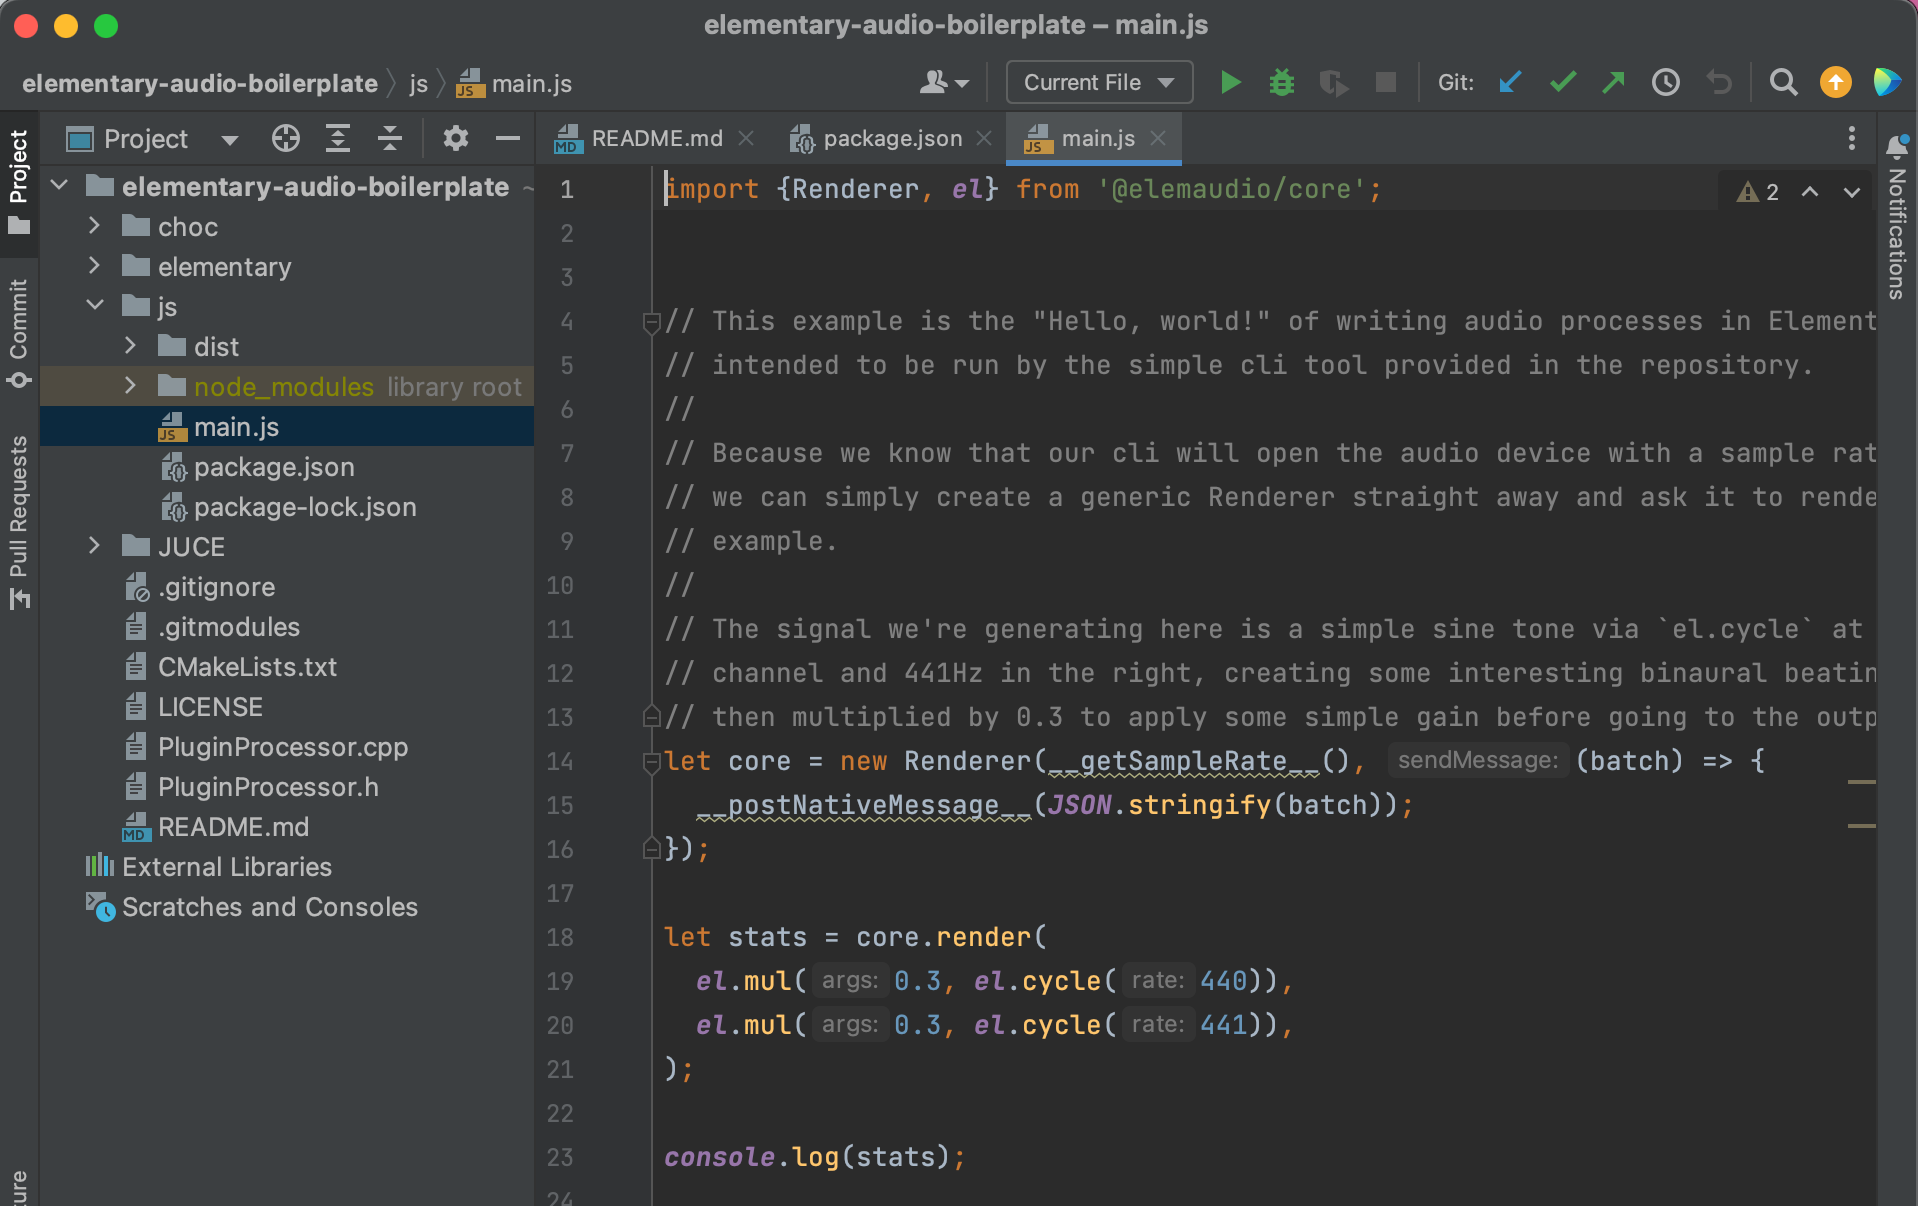
Use npm to transpile your Javascript code to ./js/dist/main.js.
npm run build
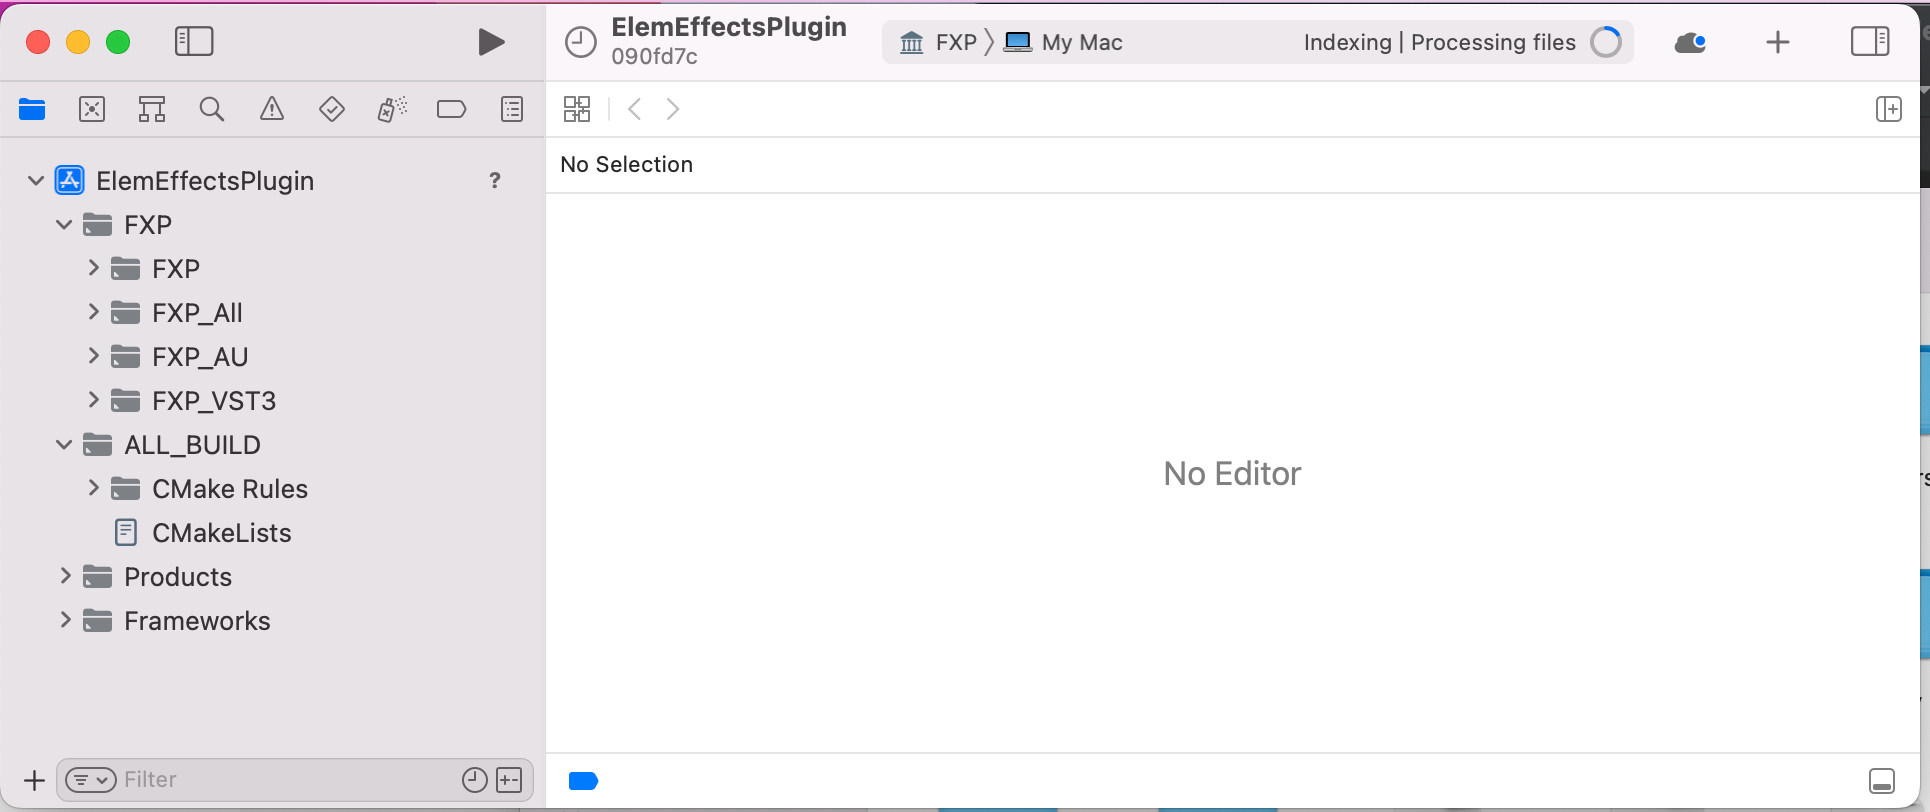
Step 8 - Compile Your Code
This step is where you tell XCode project to build the project.
Change directory into ./build.
cd ./build
cmake -G Xcode -DCMAKE_OSX_DEPLOYMENT_TARGET=10.15 ../
cmake --build .
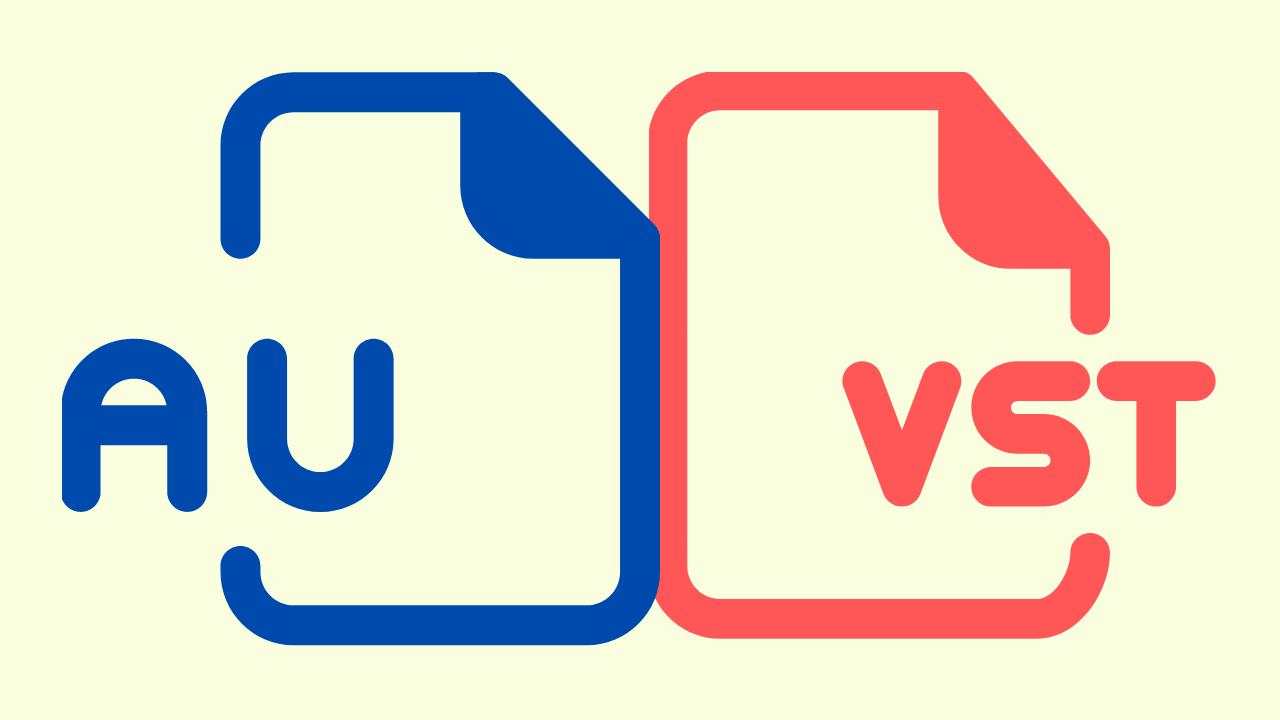
Step 9 - Test the VST
Change the directory to Debugand move your Audio Units + VST3 files to your local plug-in directory.
./choc/FXP_artefacts/Debug/
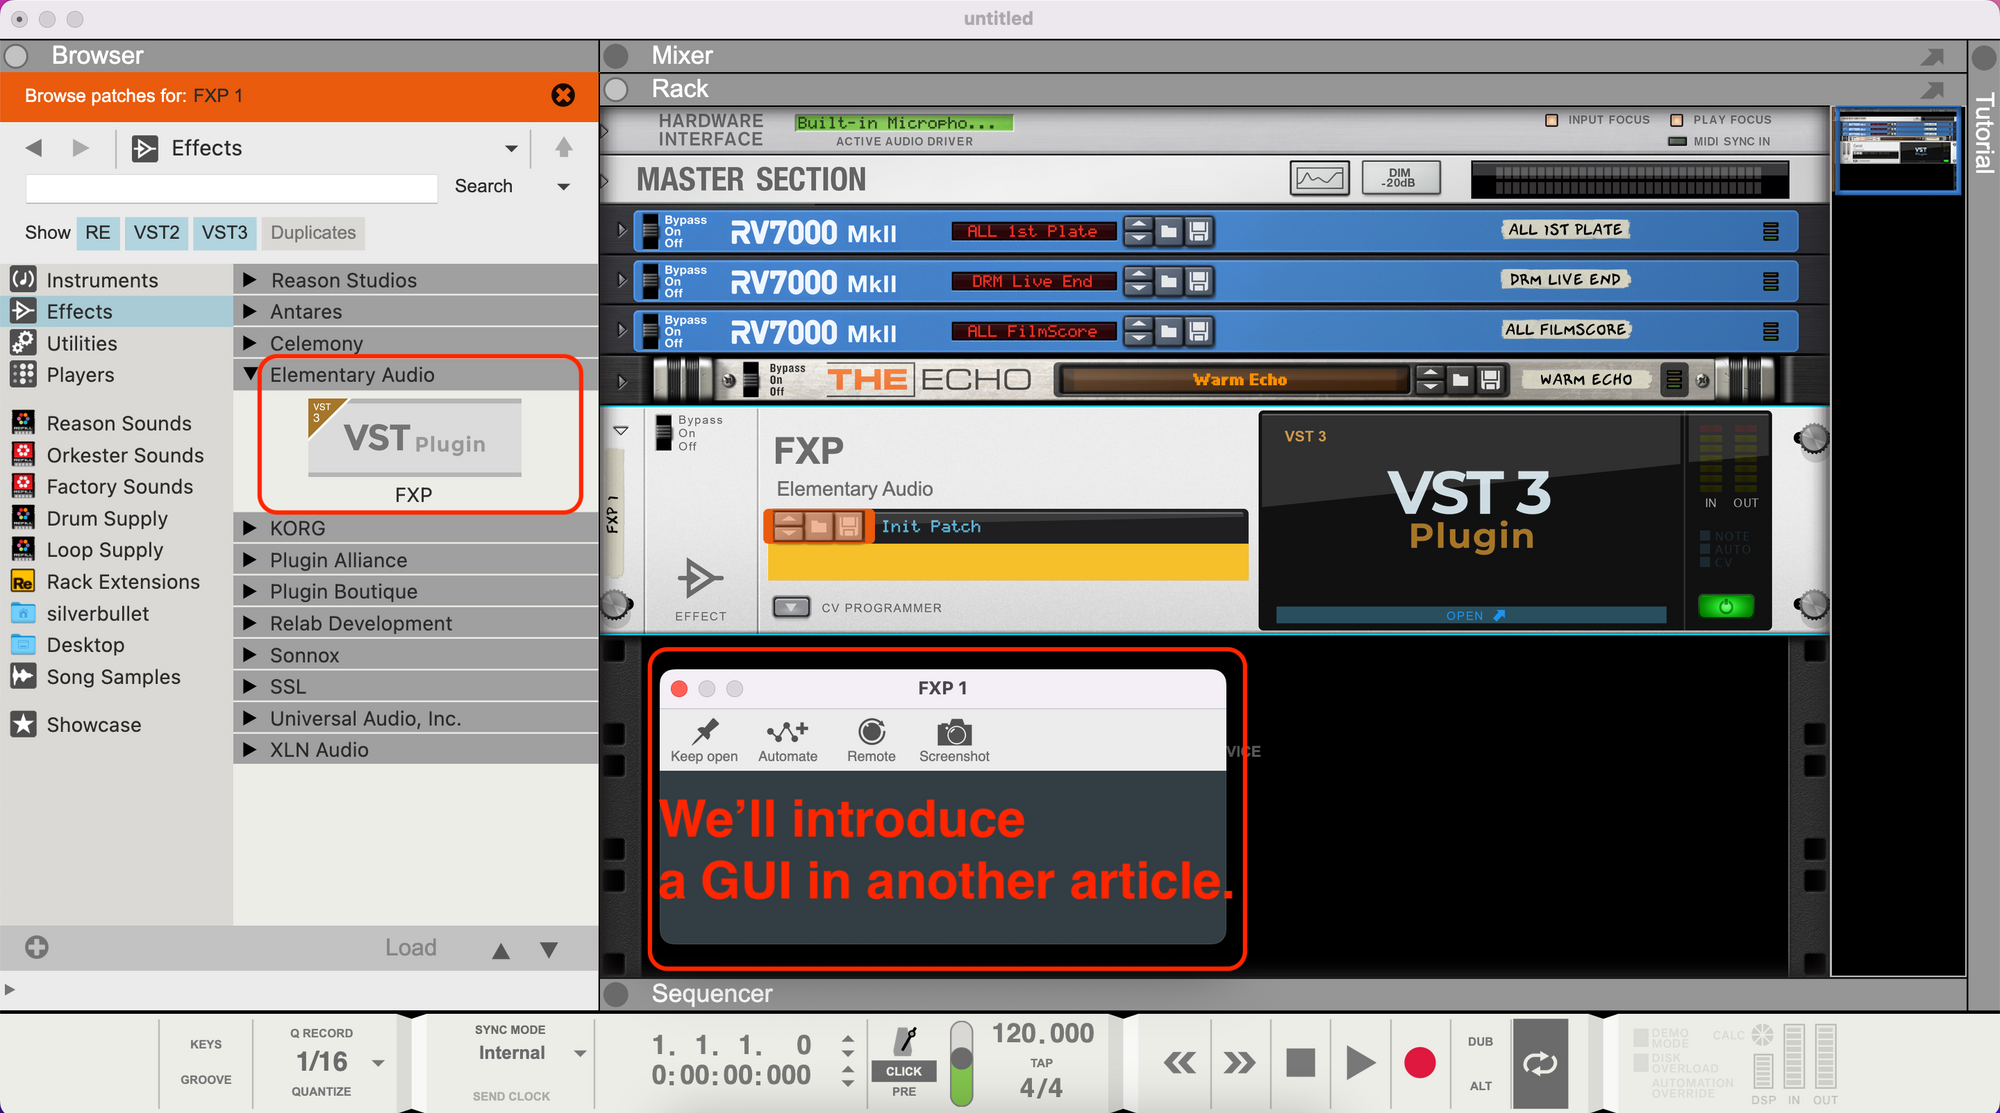
Audio Units are placed within this directory.
~/Library/Audio/Plug-Ins/Components
Audio Unit will appear within Logic here.
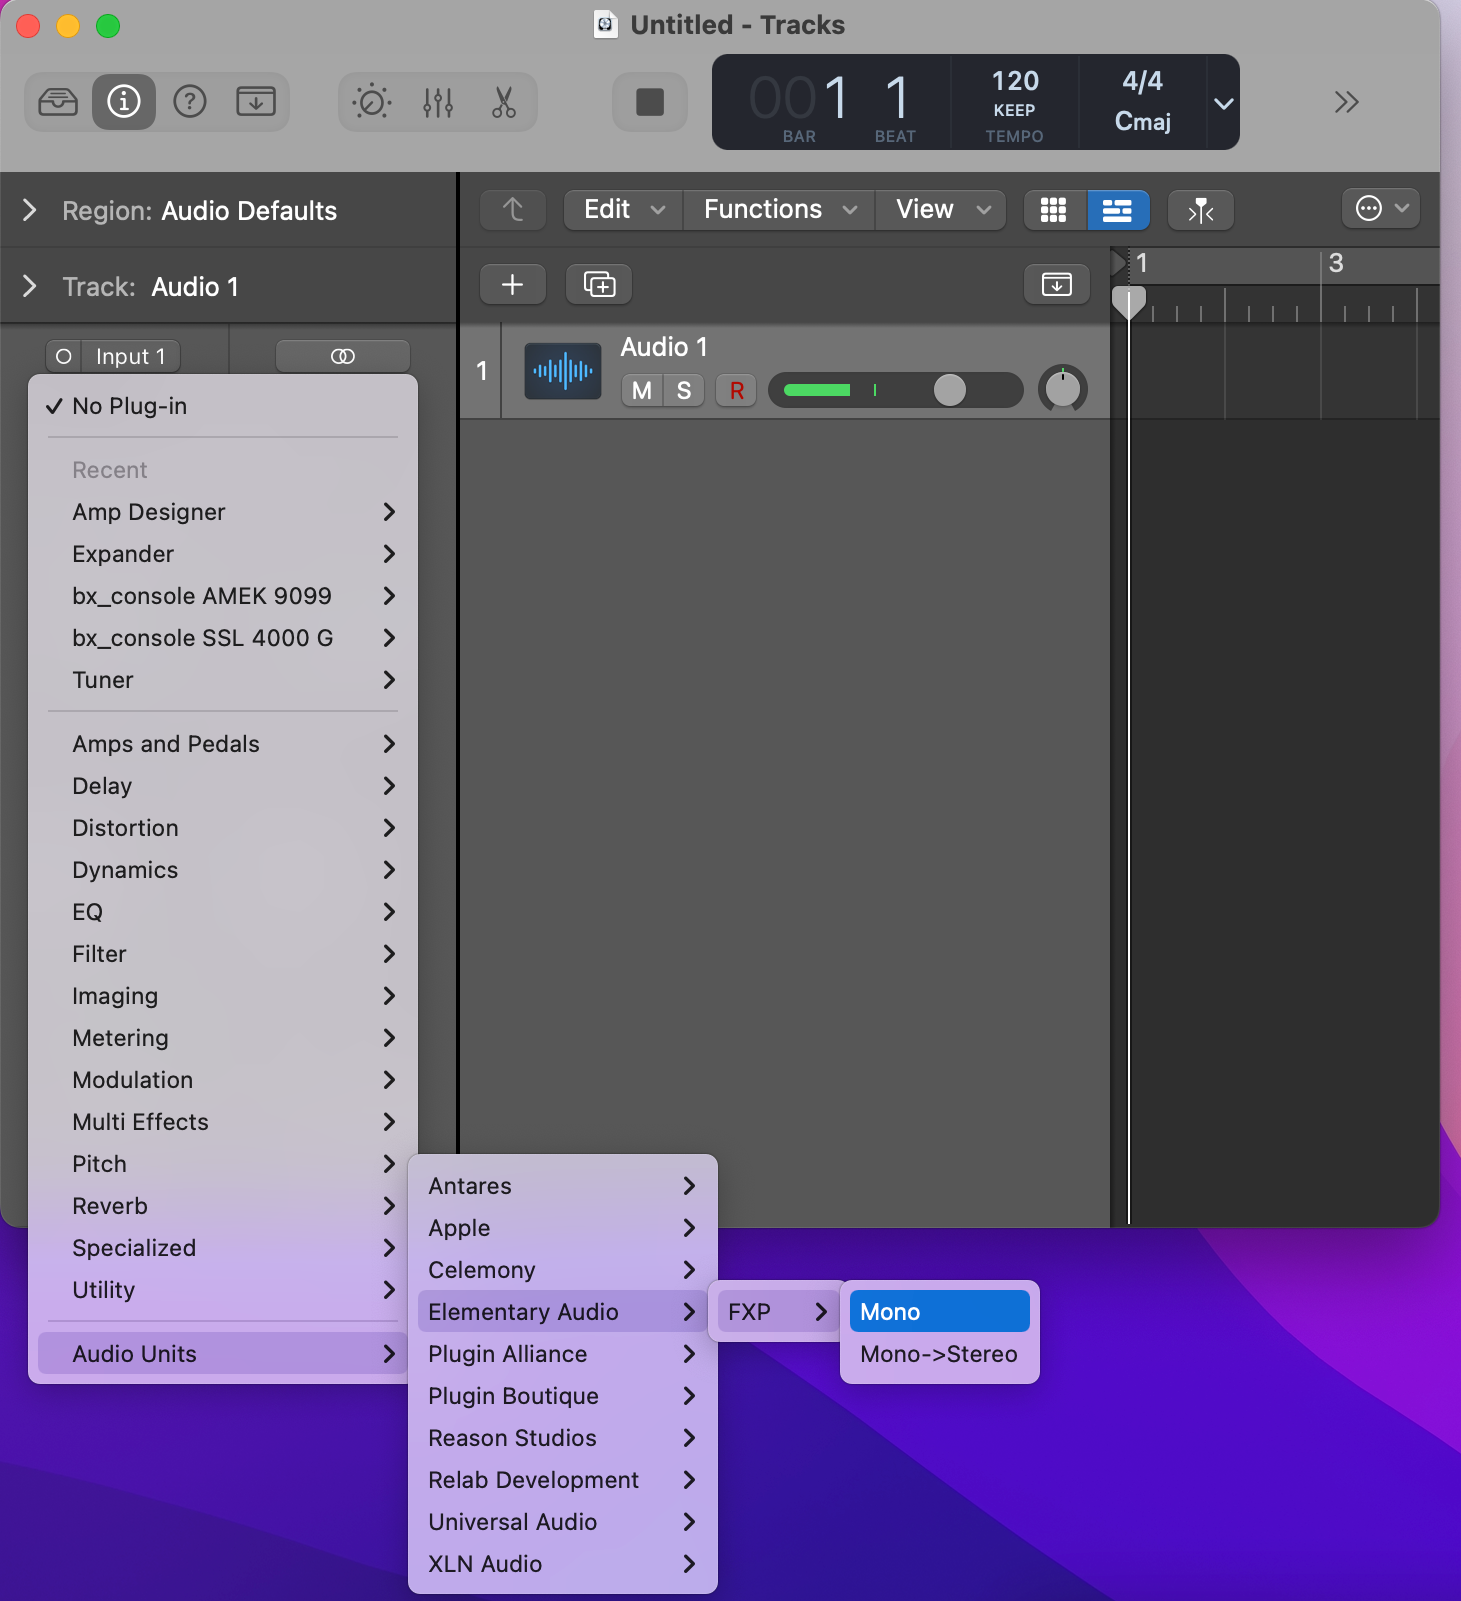
VST3 plug-ins go here.
~/Library/Audio/Plug-Ins/VST3
Audio Unit will appear within Reason here.
Step 10 - Done! Start Building in Javascript
Now that we have a complete end-to-end process for building an Audio Unit and VST3 component, it's time to start exploring Elementary.Audio docs and thinking of new products to build.
All your Javascript work will be coded in the ./js/ directory.
Step 11 - Join the DISCORD!
If you need any further help configuring your system, the Discord Community is very helpful.
Even if you don't need technical help, join the community.
Troubleshooting Issues
Error 1: XCode Not Supported

This means that you likely do not have Xcode installed.
Error 2: Plug-in Named Isn't Available on Your System
If you are creating a plugin on an Intel-based Mac, you will need to configure cmake.
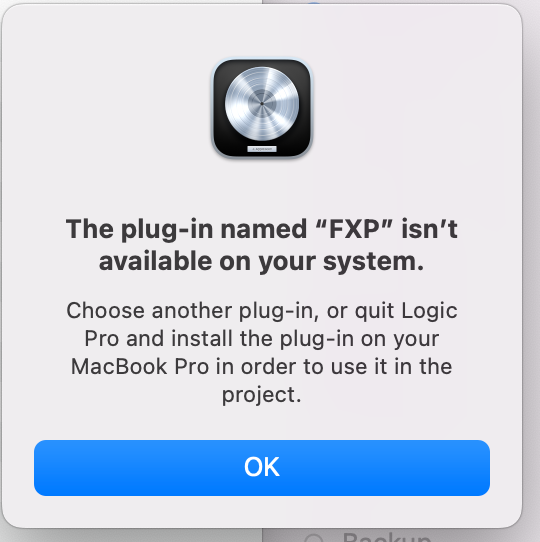
This command should make things work.
cd ./build
This is the main thing to notice. We add a special flag DCMAKE_OSX_ARCHITECTURES=x86_64 that tells cmake to build for an Intel-based Macbook Pro.
cmake -G Xcode -DCMAKE_OSX_DEPLOYMENT_TARGET=10.15 -DCMAKE_OSX_ARCHITECTURES=x86_64 ../
cmake --build .
Error 3: Unknown CMake command "juce_add_plugin"
If you see errors with JUCE or choc or elementary then its best to re-download the submodules.
git submodule update --remote --force
Debugging
Open up XCode
I plan to do a deeper article on this but for now, you are familiar with Xcode, open this XCode project within your ./build directory and set breakpoints. Then run your application within Logic to see how things are working.
ElemEffectsPlugin.xcodeproj
Run Command + B to build.