
This is one of the few topics developers rarely want to discuss. When they do, here's what the dialog looks like.
Dev: "Hey, the app isn't publishing to TestFlight because XCode isn't working.... something about the certificates."

PM: "OK. What do we do?"

Dev: "Let me just mess with it and see if I can get it to work."

30 minutes later....

PM: "Hey, did you figure it out?"

Dev: "Ya, for now."

PM: "What did you do?"

Dev: "I have no idea I just pushed some buttons on XCode and it works."

PM: "OK. Cool."
Part of the challenge is that the entire process is excruciatingly confusing. The Apple documentation could be better but it's not so here's my attempt to streamline the steps.
Streamlining the Process
This article is unique in that I am intentionally not going to use XCode to complete the provisioning process. The main reason is because I work with teams from all over the world and some prefer to develop apps using Hackintosh computers. These steps therefore will show you, an administrator, how to manage your apps and certificates without relying on XCode.
Note: This article is for developers interested in building apps, not beta testers. If you're trying to use TestFlight, that's a whole other topic which will not be covered here.
Overview
Here is a high-level overview of the steps required to create an Apple Provision Profile.
- Gather the device UUID's you'll be using to test your app.
- Add the UUID's to Apple's device portal.
- Create a Signing Certificate Request on my local machine.
- Request a Signing Certificate from Apple's portal.
- Create an App ID from Apple's App ID portal.
- Create a Provisioning Profile from Apple's Provisioning Profile portal.
Step 0 - Create an account
You'll need an Apple Developer account. You can access it by visiting http://developer.apple.com.
Step 1 - Get Your Phone's Device ID
There are a few different ways to get your phone's device ID. I suggest reading this article first. I promise, it won't take you more than 3 minutes to read.
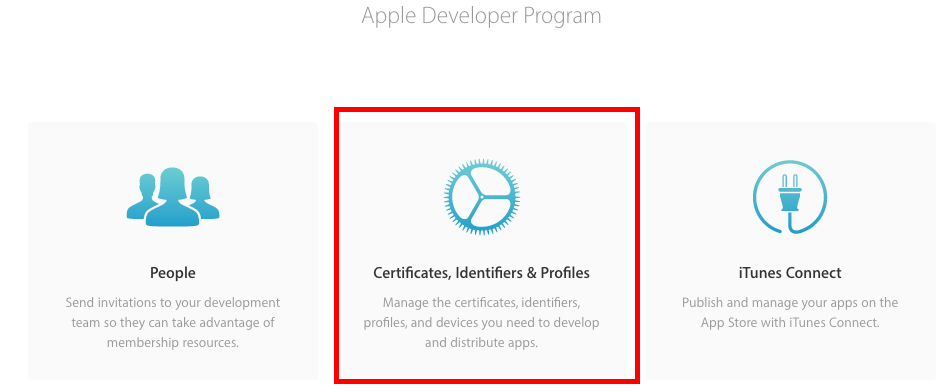
Step 2 - Visit iOS Certificate Portal
Let's first go to our Account Overview. This is where we set up devices and get the files you need to compile an app.
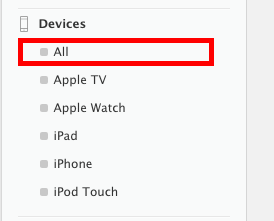
Step 3 - Add a Device
You will need to add an actual device for testing purposes.
Substep A - Go to Devices
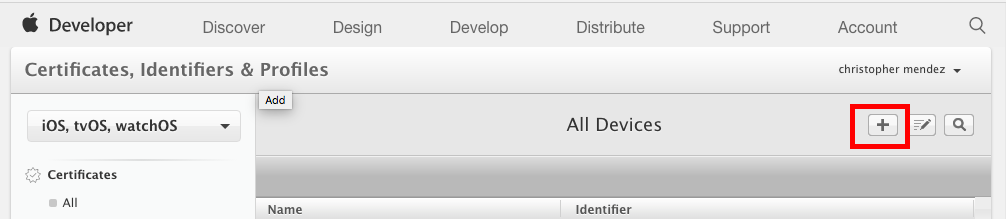
Substep B - Add a Device
Substep C - Complete Form
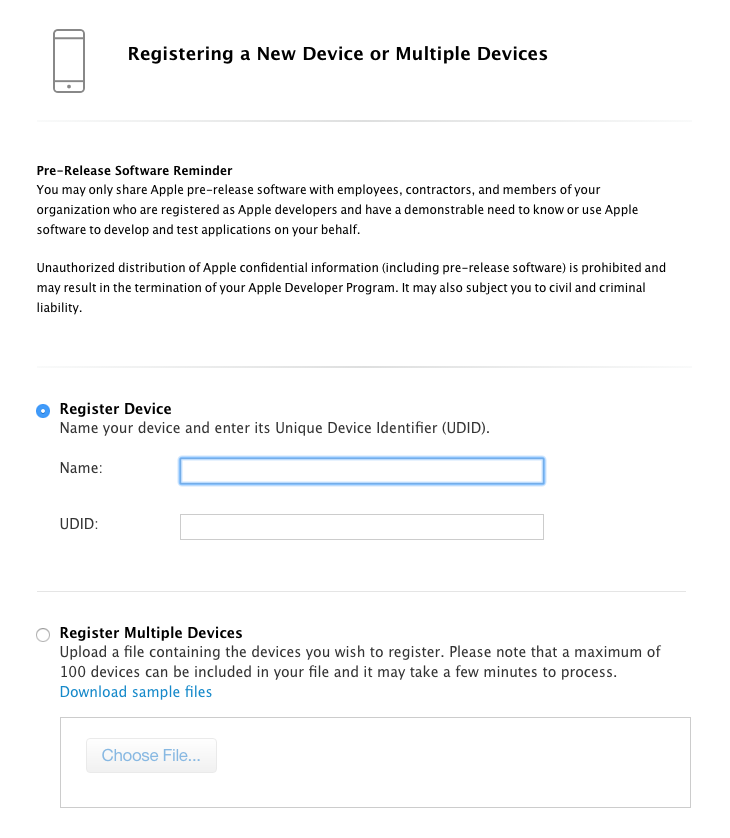
Here's how to find your device id also known as your UUID.
Step 4 - Create a Signing Certificate Request
A Signing Certificate Request is sort of like an administrative application. This application is what you will send to Apple for an official Signing Certificate.
You can start your application by first opening Keychain Access.
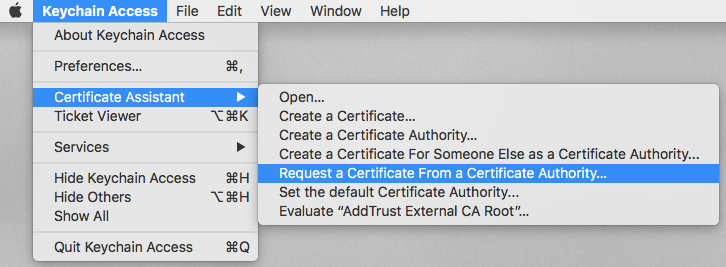
Substep - A - Open Keychain Access

Substep - B - Create a Signing Certificate Request from the CA
The purpose of this step is not to create a certificate but to create a certificate request. This request is sort of like an application you will later send to Apple for an official Signing Certificate.
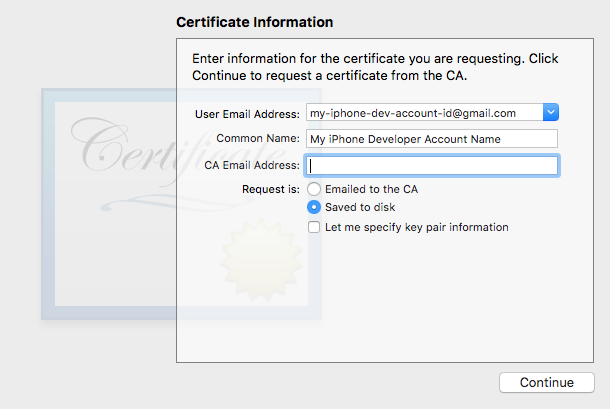
Substep - C - Complete the Certificate Request Form
It's important to get this right. I recommend using the email and organization name you used to create your Apple Developer Account.
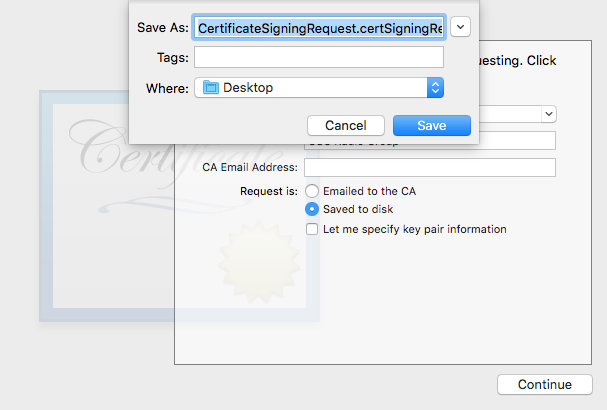
Substep - D - Download your Signing Certificate Request Application
Download the file.
Step 5 - Request an Official Signing Certificate from Apple
This is the step where you will submit your Signing Certificate Request to Apple. If things work out, you will be granted an official Signing Certificate.
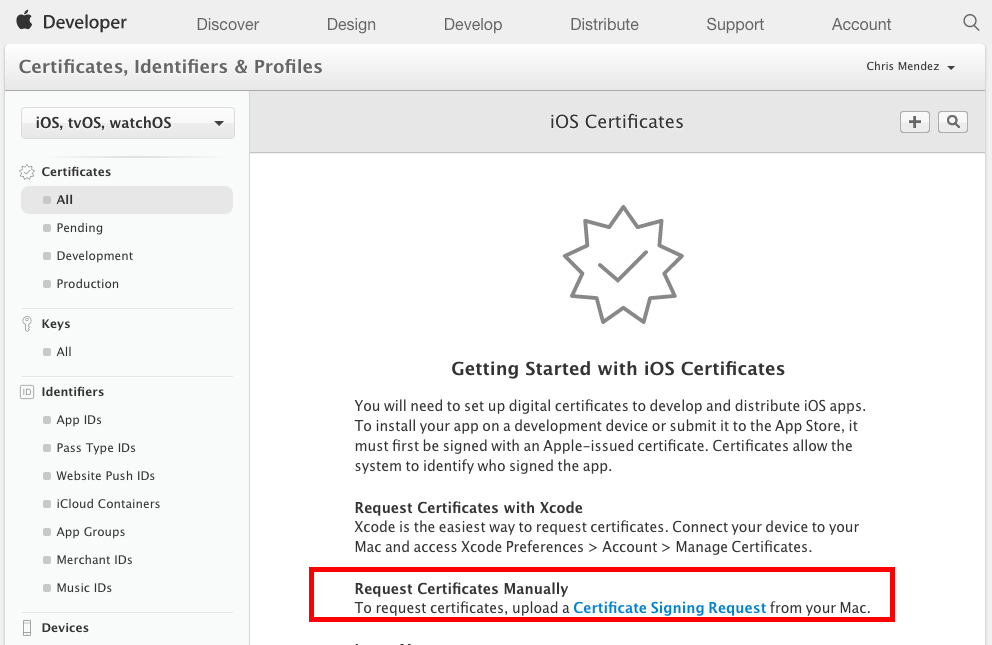
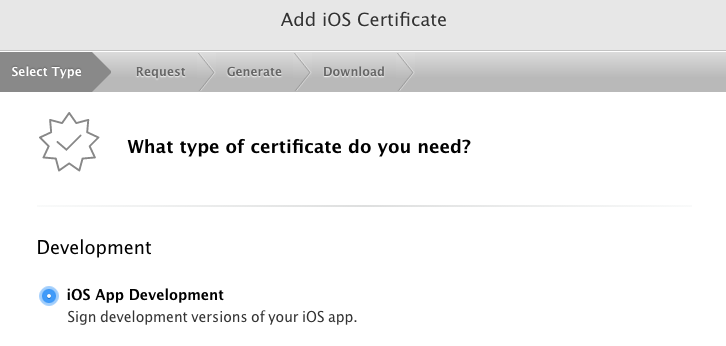
Substep - A - Request a Signing Certificate
Visit the Apple Certificate Portal and select "Request Certificates Manually". This will initiate a signing certificate request.
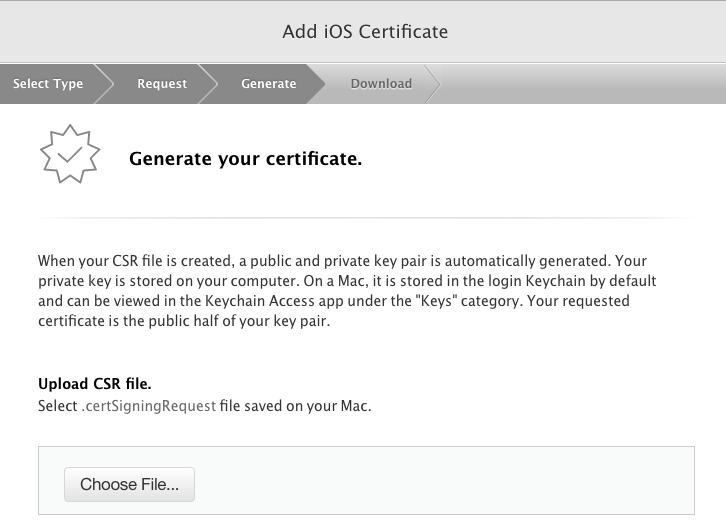
Substep - B - Upload your Signing Certificate Request
The last step is to upload the signing request.
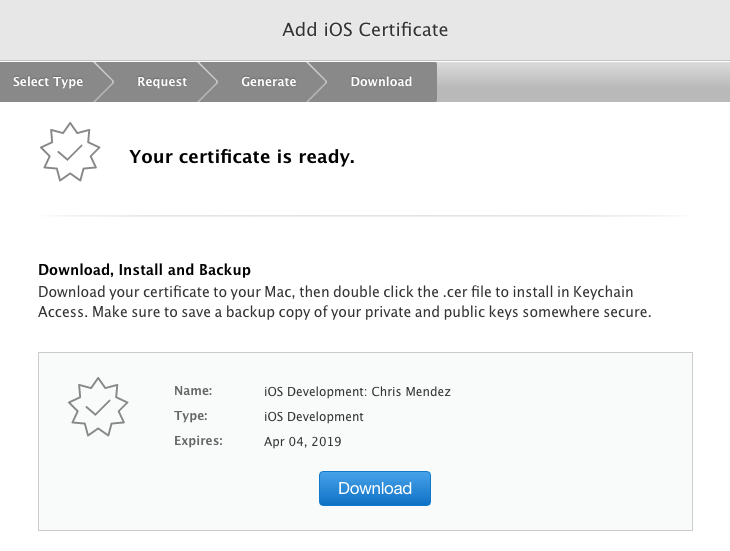
Substep - C - Success
If you do this correctly, you will get a pretty "Download" button with your actual Signing Certificate.
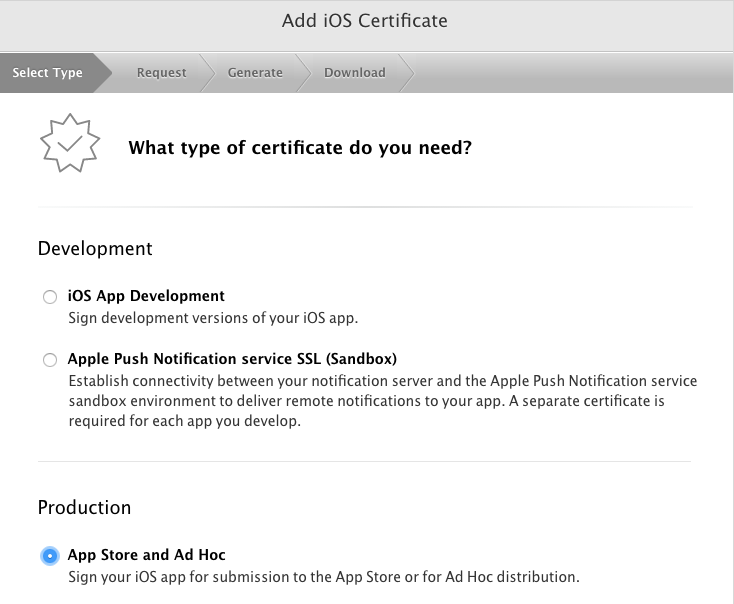
Substep - D - Repeat
At some point you will want to repeat this process to create a Distribution Certificate. This is the cert you will need to later publish to TestFlight.
Let's Take a Break
Phew, that's a lot of steps.
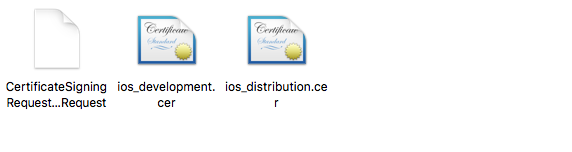
If you've followed each of the steps above, you should now have three files.
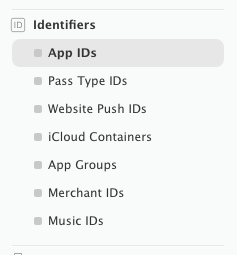
Step 6 - Create an App ID
The Apple ID is the unique ID you will use within the Apple Store Marketplace. Think of the App ID as your website domain name, there is only one in the world and you will never be able to change it.
Substep A - Go to App ID's
Substep B - Create a new App ID

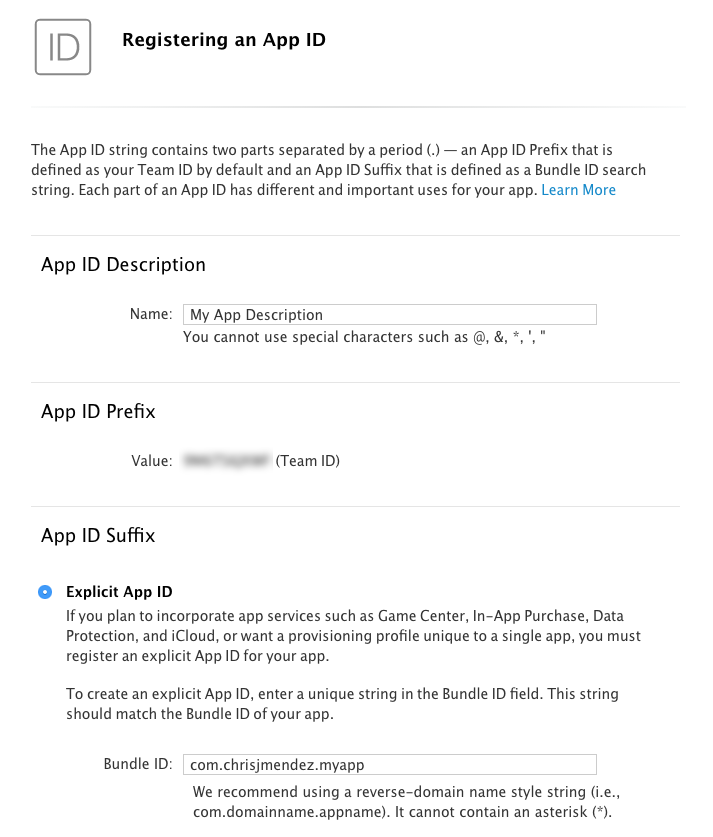
Substep C - Complete App ID Form
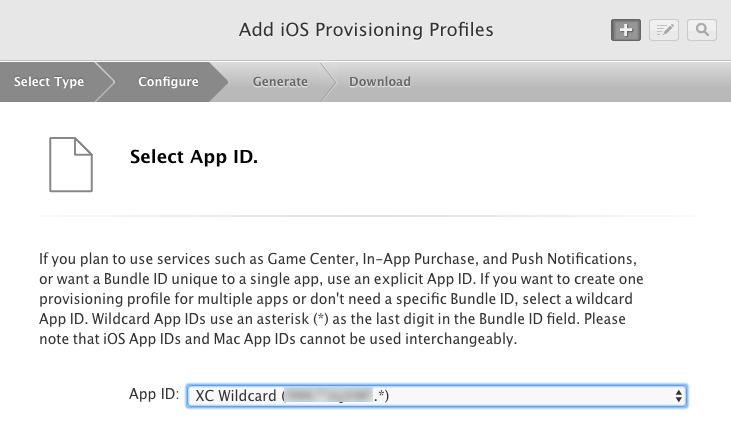
Most companies prefer to use a pattern called reverse domain name notation to create a bundle id. This will often prevent naming conflicts.
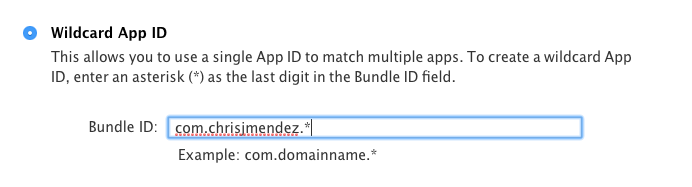
If you want to create multiple apps for testing purposes, then it makes more sense to select "Wildcard App ID". This will save you time from having to complete multiple form applications.

Step 7 - Generate Mobile Provisioning Profile
Woo Hoo! We're at the home stretch. Let's finish....
Now that you've created an App ID, you can now create a mobile provisioning profile.
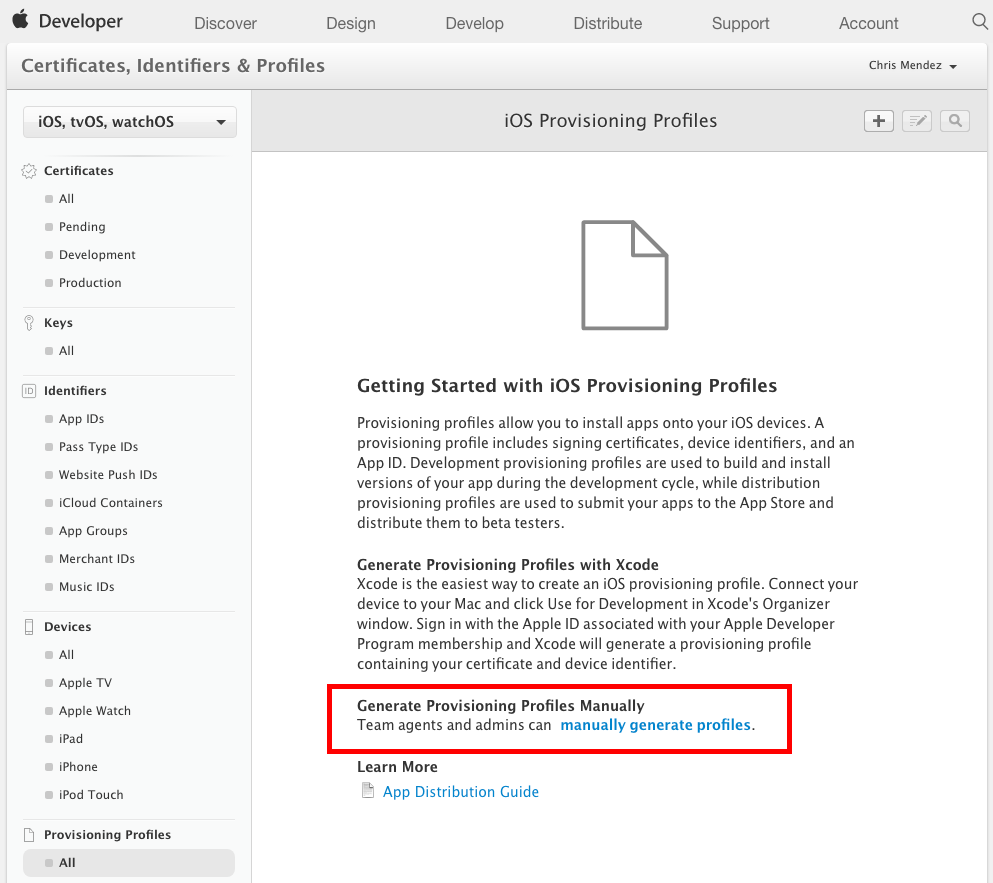
Substep A - Go to Provision Profiles
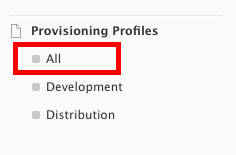
Substep B - Manually Generate a Profile
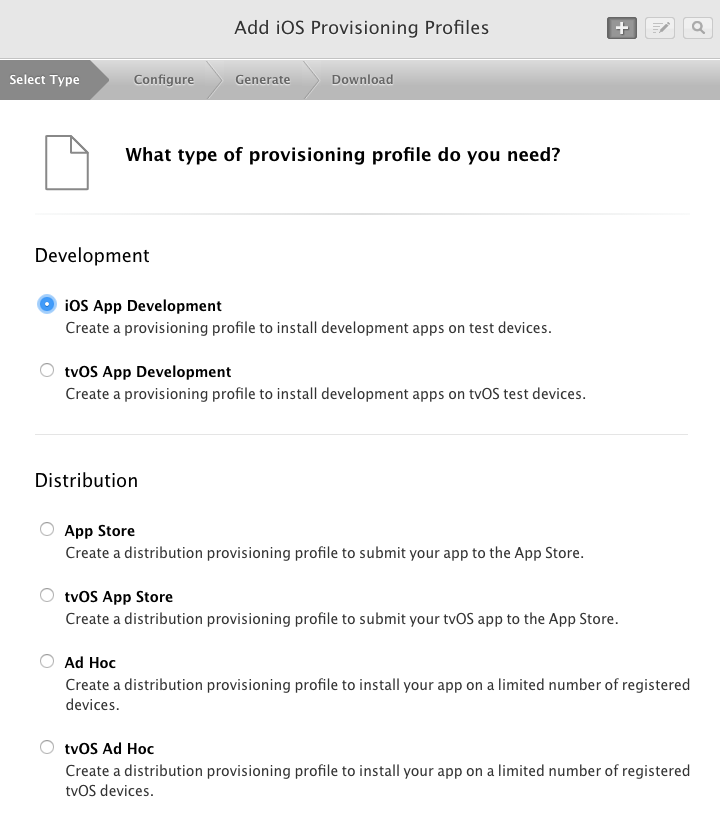
Substep C - Pick a Profile Type
Substep D - Select an App ID
Pick the app you want to start developing.
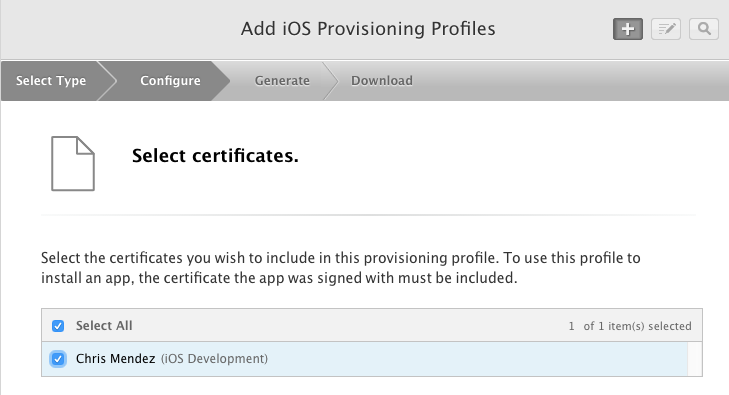
Substep E - Select a Signing Certificate
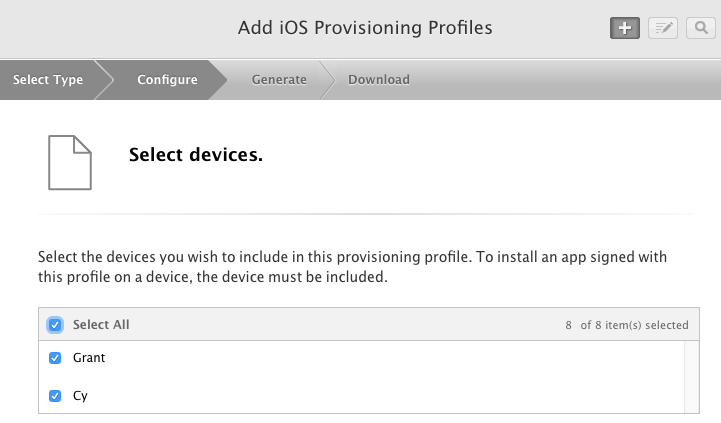
Substep F - Select Devices
This is where you select the hardware devices you added earlier.
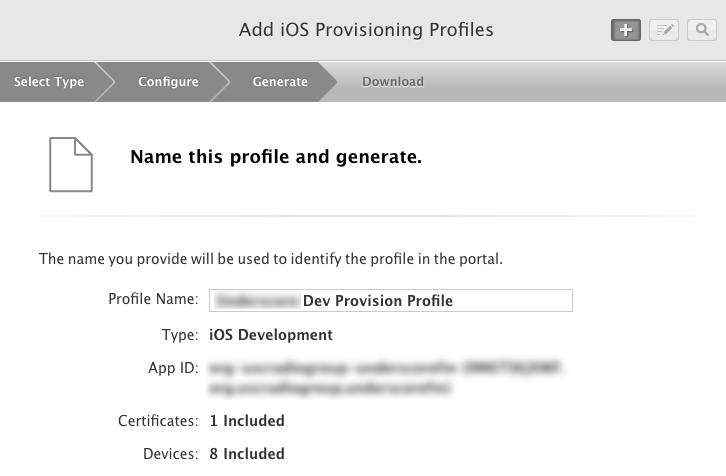
Substep G - Name Your Provision Profile
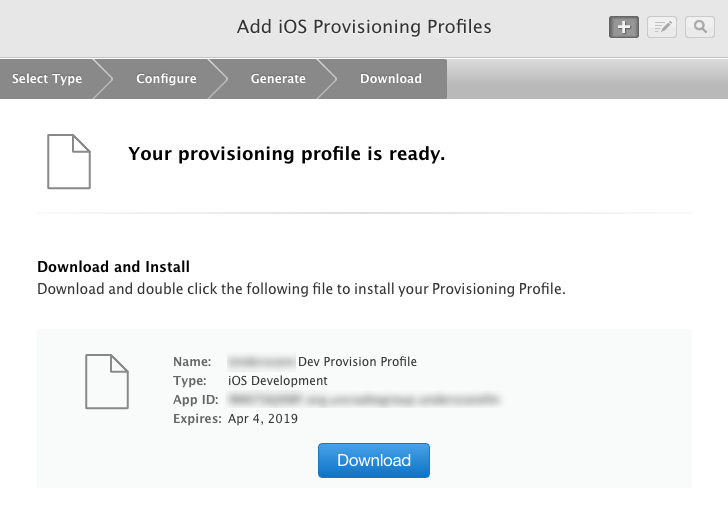
Substep H - Download Your Provision Profile
Substep I - Repeat
You will want to create another provision profile for "AD Hoc" (aka TestFlight) and actual "App Store" distribution.
DONE!
We did it! Woot woot! Congratulate yourself on a provision well done.
Troubleshooting
Create a Windows Signing Certificate Request
If you're on a Windows machine, I cannot help you. All I know is that you'll probably need to:
- Download and install OpenSSL.
- Generate some sort of private key.
set RANDFILE=.rnd
genrsa -out myprivkey.key 2048
- Use that key to create to a signing certificate.
openssl req -new -key myprivkey.key -out CertificateSigningRequest.certSigningRequest -subj "/emailAddress=yourAddress@example.com, CN=John Doe, C=US"
Resources


Swift: Do Try Catch
I've discovered that there are really two ways to accomplish a Try/Catch strategy in Swift. The first example is technically correct but the "shorthand&...