
Icecast is an open source server designed to help you stream music over the web. The server is designed for DevOps administrators who prefer managing through configuration files.
Today we will recreate a cloud-based radio station using AWS EC2, Icecast and Mac OS X.
Step 0 - Setting up AWS
You will need to create an AWS account start an EC2 instance with Ubuntu.
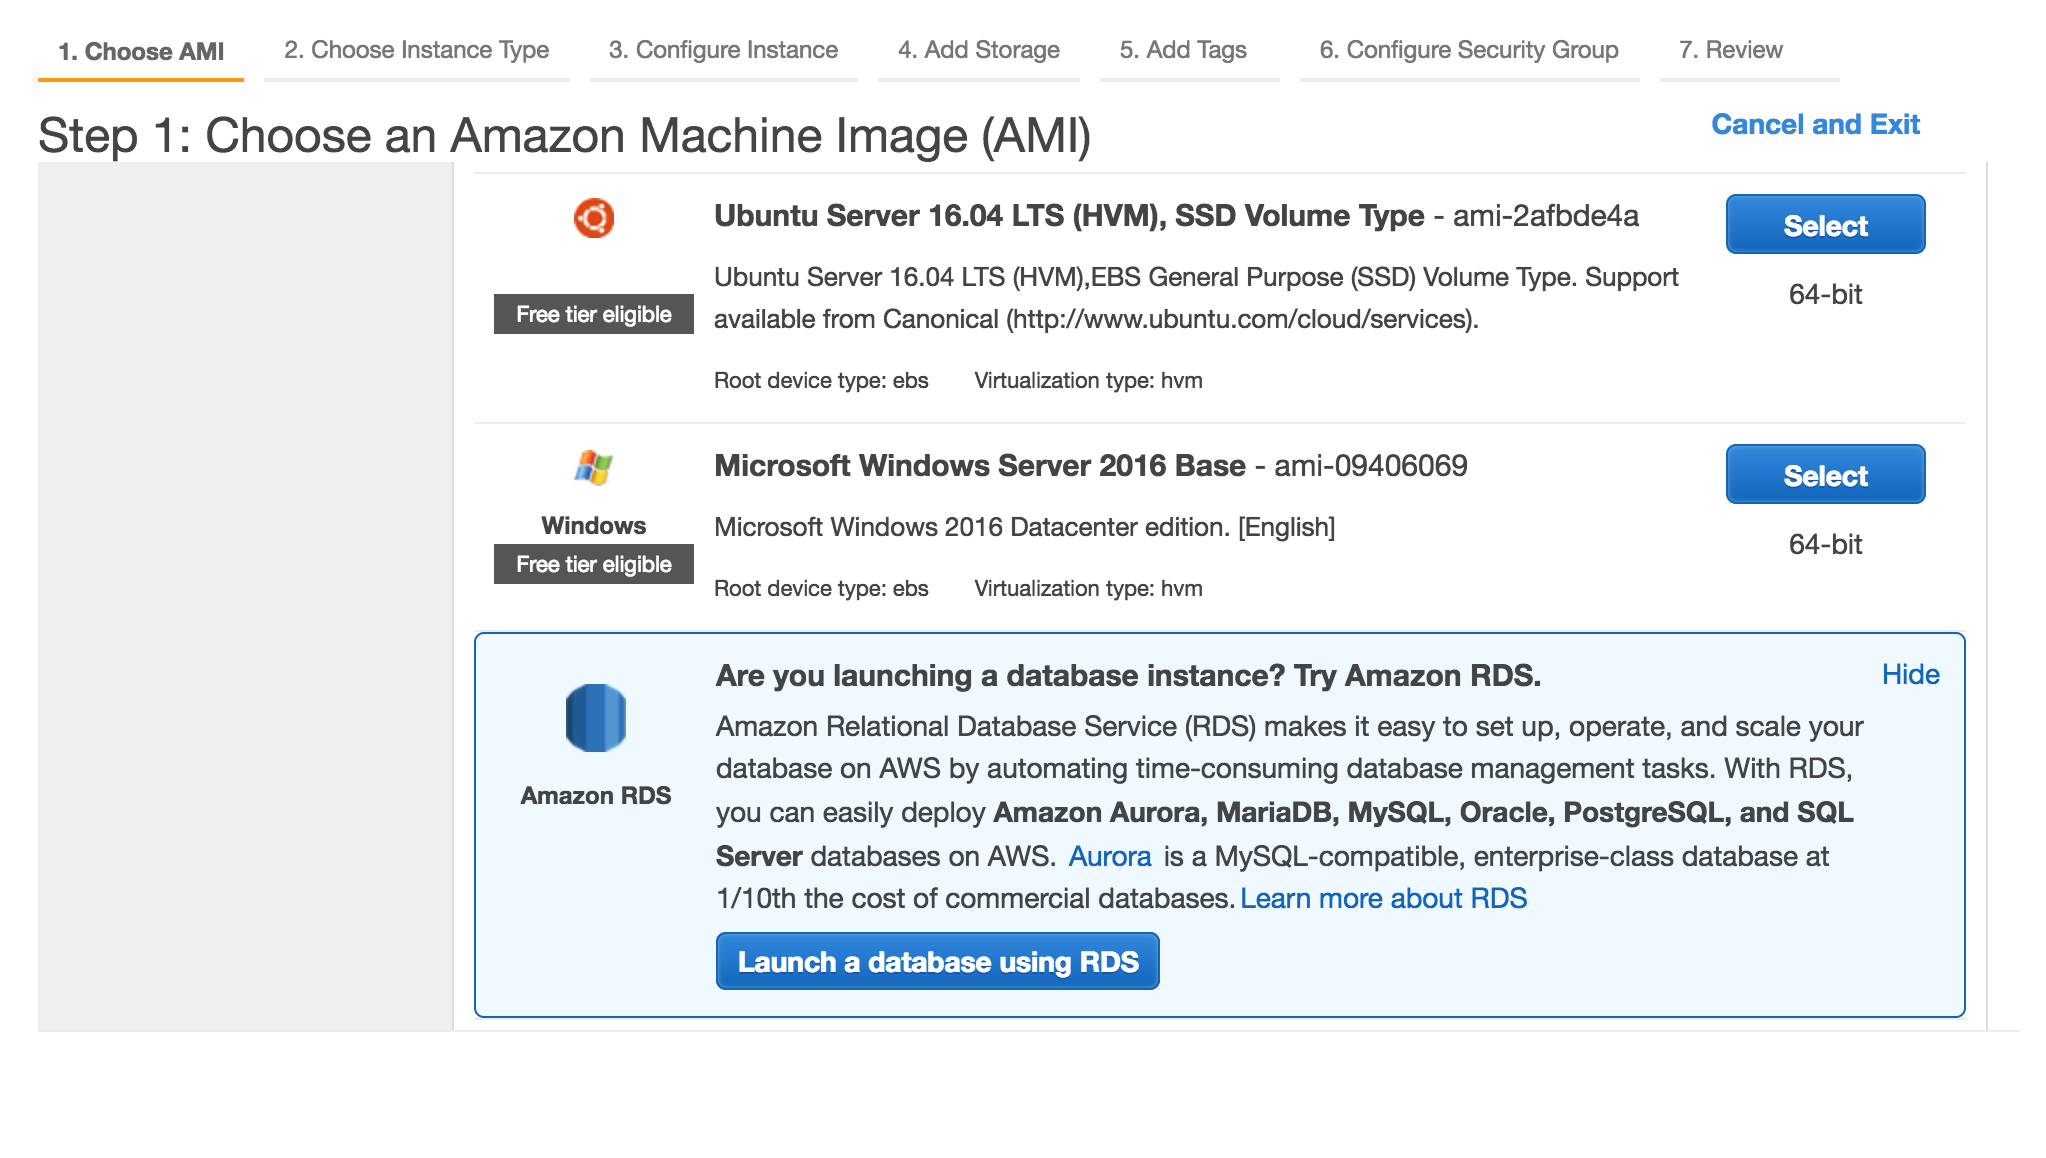
Launch EC2 Instance
We're going to pick the free tier of Ubuntu to install Icecast.
Include Port 8000 in your Firewall
By default, Icecast uses Port 8000 to stream music. In order to publish a stream from an EC2 instance, we will need to allow access to Port 8000 through the AWS Security Group.
An AWS Security Group is the equivalent to a firewall.
Your security group should include ports for both SSH (port 22) and Icecast syndication (port 8000).
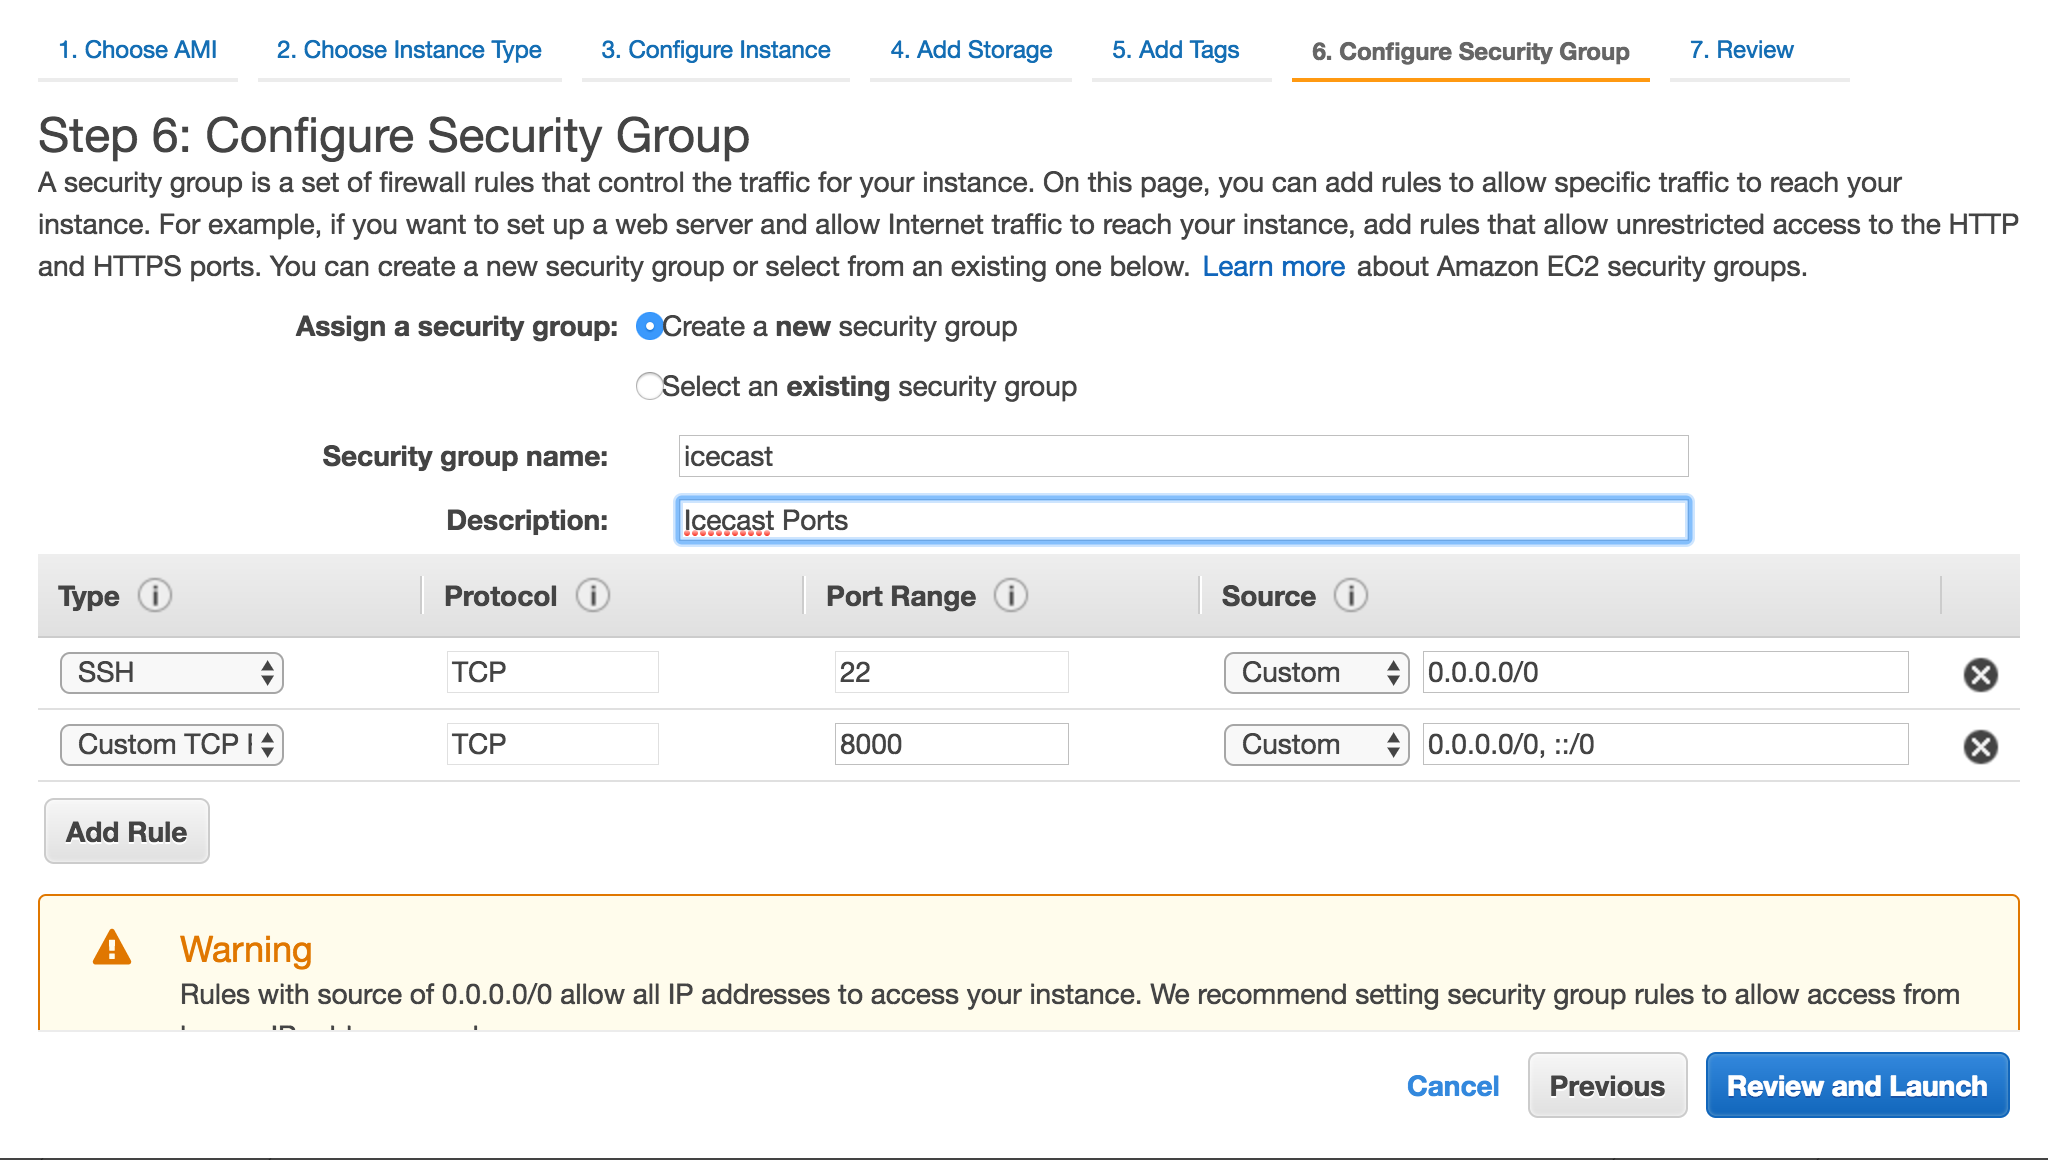
For now, I've allowed access to the ports from anywhere in the world. You might want to improve this later.
Add a static IP using AWS Elastic IP
You will need to refer to your EC2 instance using a static IP so I suggest doing it now.
SSH into your EC2 Instance
Replace the x's with your static IP address.
ssh -i /path/to/your/aws.pem ubuntu@xx.xxx.x.x
Step 1 - Update Ubuntu
It's a good habit to first update Ubuntu's apt-get manager.
sudo apt-get update
Step 2 - Install Icecast
Our next step is to install Icecast 2 using apt-get.
sudo apt-get install icecast2
Step 3 - Configure Icecast
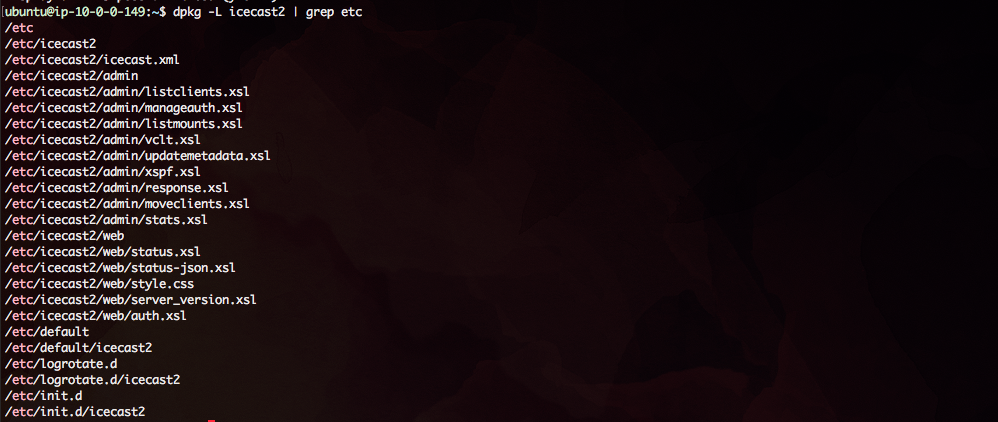
After installing Icecast, our next step will be to modify the default config file found in /etc/icecast2/icecast.xml.
If you cannot find the file within the /etc directory, then use this command to list out all the config files.
dpkg -L icecast2 | grep etc
Once you've found the icecast.xml file, open it and modify these parameters:
- Hostname (or IP address)
- Location
<admin-password><source-password><relay-password>(optional)
! You will also want to double check /etc/default/icecast2 and ensure that enabled is set to true.
Step 4 - Start Icecast Server
Once you configure icecast.xml, you will need to start or restart the Icecast server.
Start
/etc/init.d/icecast2 start
Restart
/etc/init.d/icecast2 restart
Stop
/etc/init.d/icecast2 stop
Check that Icecast is Running
pgrep -fl icecast
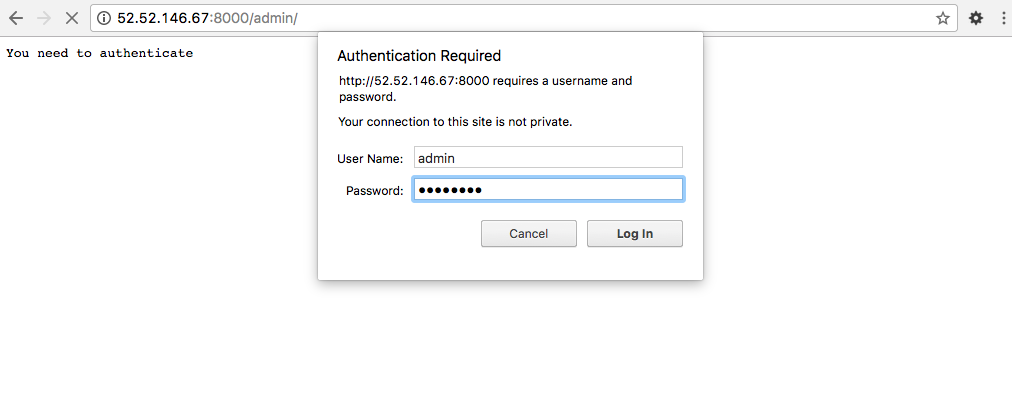
Step 5 - View Admin Console
Visit your admin console to see if things are looking good.
http://xxx.xxx.x.xxx:8000/admin/
Up Next
Part 2 of this tutorial will change our focus from AWS EC2 to Mac OS X. The goal will be for us to publish an MP3 to our new Icecast server using NodeJS.